Recording tips
Audio, camera, and iPhone settings to get the best results for your on-demand videos.
The biggest thing that separates a great fitness video from a mediocre one? Audio. Clients will forgive lower video quality — they won't forgive struggling to hear your cues. These tips will help you get solid results without expensive equipment.
iPhone settings
Before you record, set your iPhone to capture in a compatible format:
- Open Settings → Camera → Formats
- Select Most Compatible
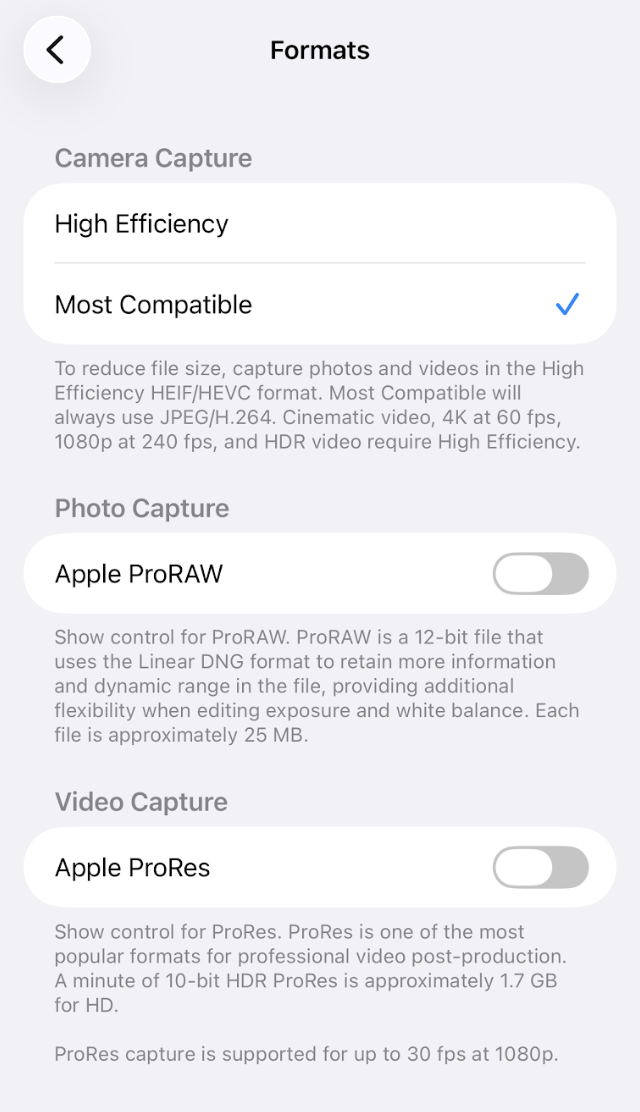
This ensures your video exports as H.264 instead of HEVC, which plays on all browsers without any conversion. Also use:
- HD 1080p at 30fps — great quality, reasonable file size
- Avoid 4K unless you have a specific reason — clients on phones can't tell the difference, but the file is 4x larger
Audio — the most important thing
Invest in a decent microphone before spending money on cameras or lighting. Here are options at different price points:
| Budget | Option |
|---|---|
| Free | AirPods (wired or wireless) — works well for lower-intensity classes |
| ~$50 | USB lapel mic — good pickup, sounds like a fitness studio |
| ~$100 | Samson XPD2 wireless headset — solid wireless option |
| ~$200 | Rode Wireless GO — professional-grade, minimal background noise |
| ~$300 | Sennheiser lapel system — broadcast quality |
General tips
- Record at 30fps, not 60fps — 60fps is for slow motion. 30fps is perfect for fitness content and keeps file sizes manageable.
- Check your background — a clean, well-lit space beats fancy equipment every time
- Stable camera position — a tripod or phone mount prevents shaky footage
- Test your audio before recording — record a 30-second test and listen back before your full session
- Natural light or ring light — soft, even lighting makes a huge difference. Position light in front of you, not behind.
File size and format
After recording, check your file size before uploading. Arketa allows up to 5GB per video. If it's too large, use Handbrake to compress it — see file types and limits for a full walkthrough.