Private classes
How to create hidden or invite-only classes that don't appear on your public schedule.
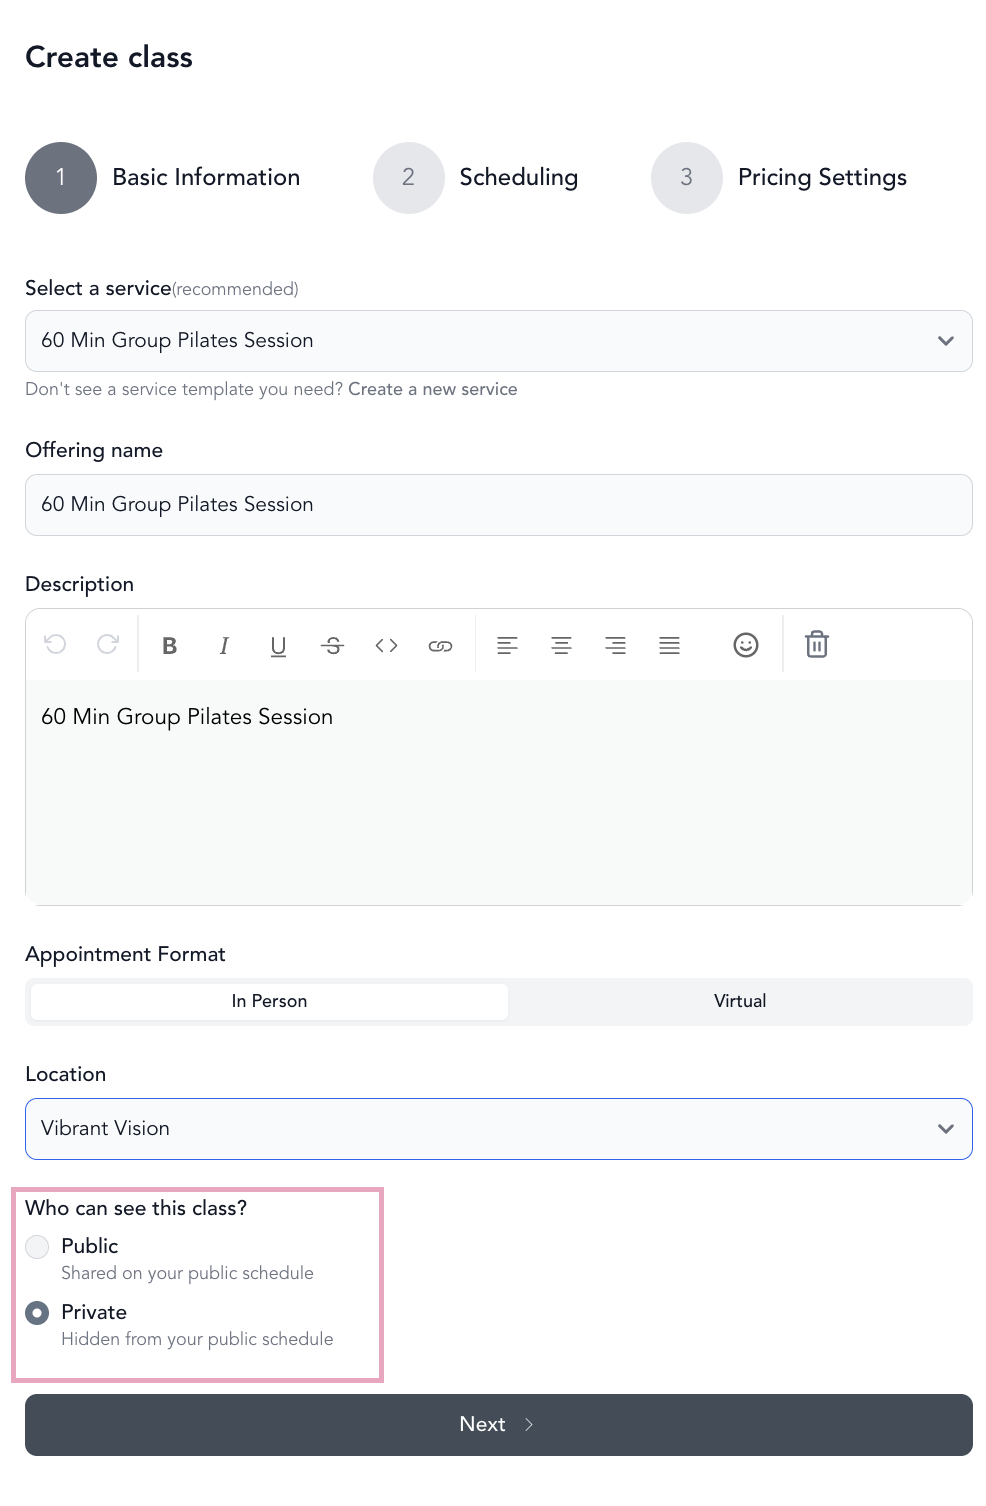
A private class doesn't show up on your public booking page — it's only accessible to clients you share the link with directly. This is useful for exclusive workshops, invite-only sessions, or beta offerings you're not ready to promote publicly.
Create a private class
Add a class as usual
Go to Classes → Full Schedule and click Add New. Fill in all the class details. How to add a class →
Save
Click Save Class. The class is now hidden from your public schedule.
Share a private class
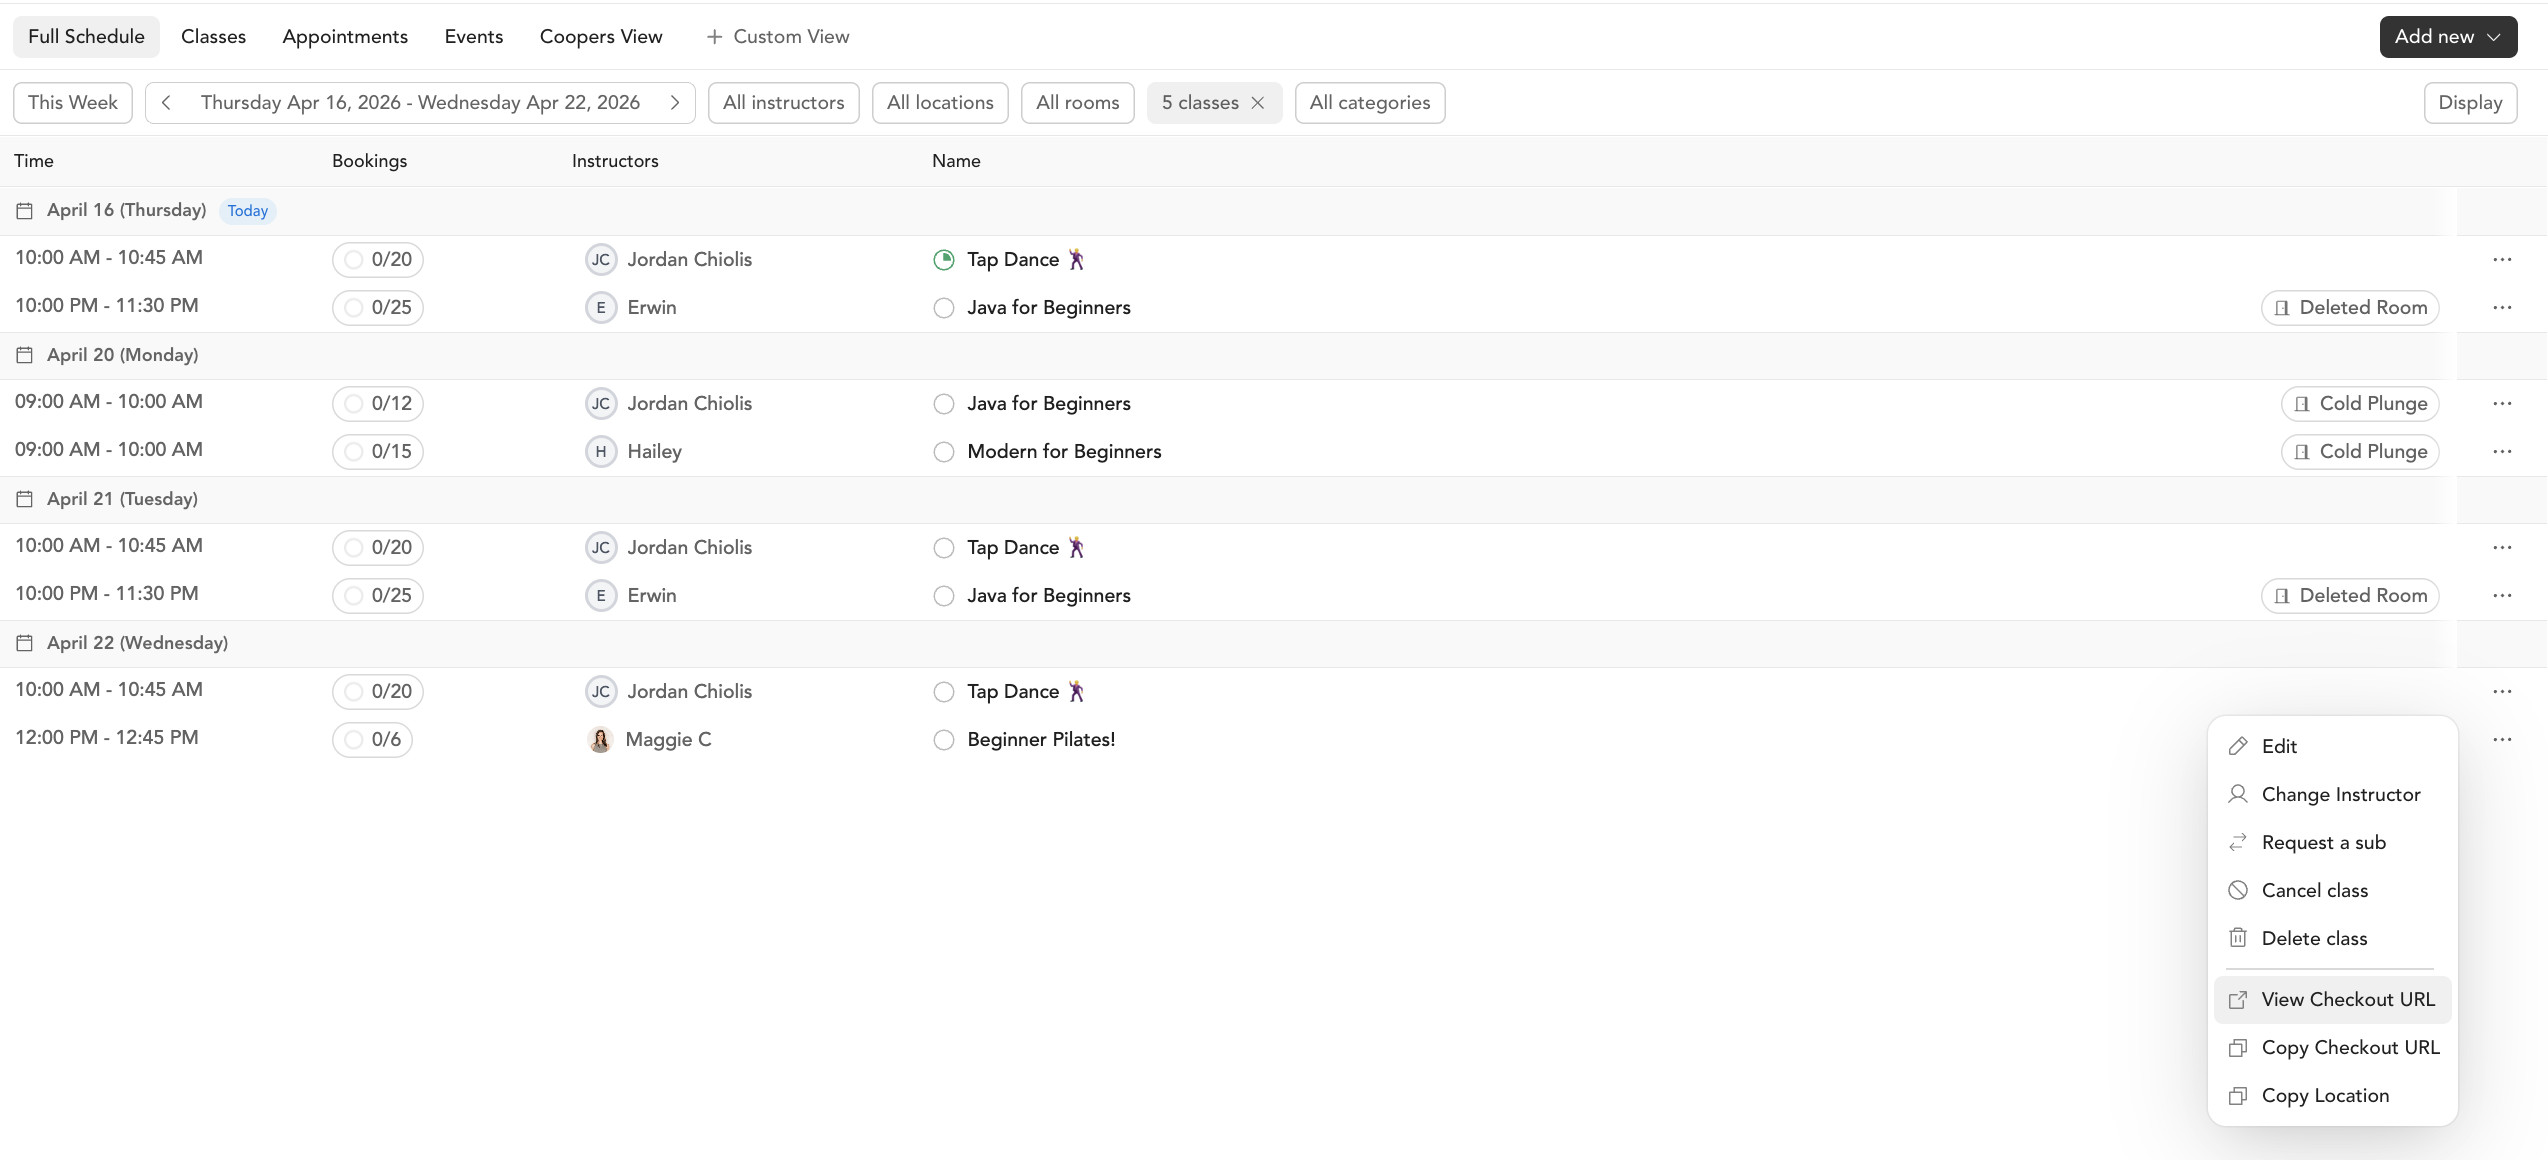
Once created, find the class in Full Schedule and click the … under Actions:
- View checkout URL — opens the class booking page in a new tab
- Copy checkout URL — copies the direct booking link to your clipboard
Share that link via email, DM, or anywhere else. Anyone with the link can book — it just won't appear in your public schedule for people who don't have the link.
Use cases
- Workshops for existing members only — share the link in your member newsletter or community
- Beta or soft launch — set up the class before you're ready to announce it
- Corporate clients — share a private link for a company-specific session
- Friends and family — combine with a friends & family discount for a special rate
Private classes still accept bookings through all your normal pricing options — packages, memberships, drop-ins. The only difference is they're not listed publicly.