Add a class
How to add a group class, event, or recurring session to your Arketa schedule.
You can add a class from your Full Schedule in just a few steps. If you're creating a class type you'll teach regularly, consider creating a service type template first — it speeds up scheduling significantly.
Add a class
Open your schedule
Go to Classes → Full Schedule and click Add New.
Choose a template or start from scratch
Select an existing service type template (recommended for recurring classes), or choose Build from scratch to set everything manually.
[IMAGE TODO] Take a screenshot showing the "Add New" modal/screen where the user chooses between an existing service type template and "Build from scratch." Show the list of available templates if any exist.
Fill in basic information
- Name — what clients will see when booking
- Description — optional, but helpful for marketing and email confirmations
- Location — choose In Person (enter address or region) or Virtual (Zoom integration or custom link)
- Visibility — Public (appears on your schedule) or Private (accessible only by direct link)
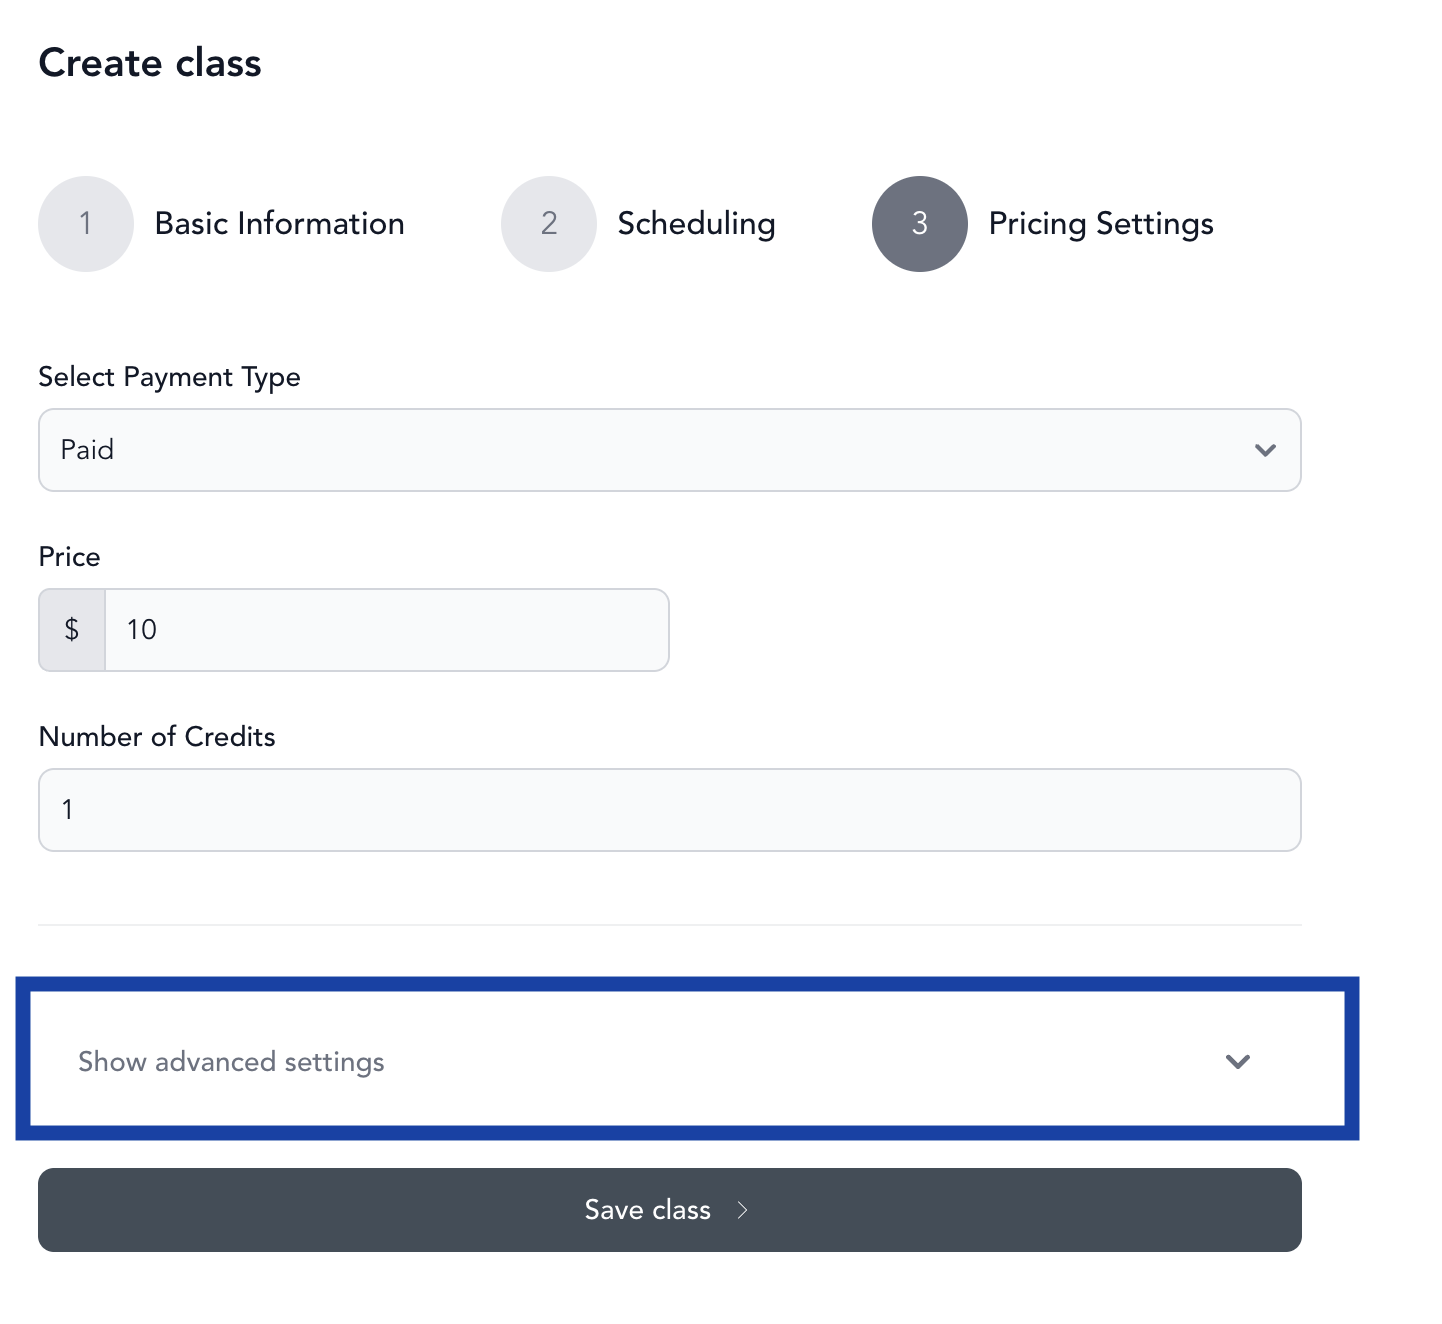
[IMAGE TODO] Take a screenshot showing the "Basic Information" step of the Add Class form, with the Name, Description, Location, and Visibility fields visible.
Set the schedule
- Date — start today or choose a future date
- Frequency — one specific date, or weekly (with optional end date)
- Days of the week — for recurring classes
- Start time and duration (in minutes)
- Instructor — you can assign multiple instructors to a single class
- Room — if your location has rooms configured
- Capacity — max number of clients who can book
[IMAGE TODO] Take a screenshot showing the "Set the schedule" step of the Add Class form, with Date, Frequency (set to Weekly), Days of the week checkboxes, Start time, Duration, Instructor, Room, and Capacity fields visible.
We recommend creating a separate recurring class series for each day and time, even if two sessions have the same time slot. This makes mass editing (changing times, swapping instructors) much faster later on.
Choose pricing settings
Select how clients pay for this class:
| Option | Best for |
|---|---|
| Free | No payment required — clients book without a card |
| Sliding scale | Donation-based classes with a minimum and suggested price |
| Paid | Drop-in price on the class itself, great for events |
| Package & subscription only | Requires a credit from a package or membership — recommended for most regular classes |
[IMAGE TODO] Take a screenshot showing the "Pricing Settings" step of the Add Class form, with the payment type dropdown expanded showing all four options: Free, Sliding scale, Paid, and Package & subscription only.
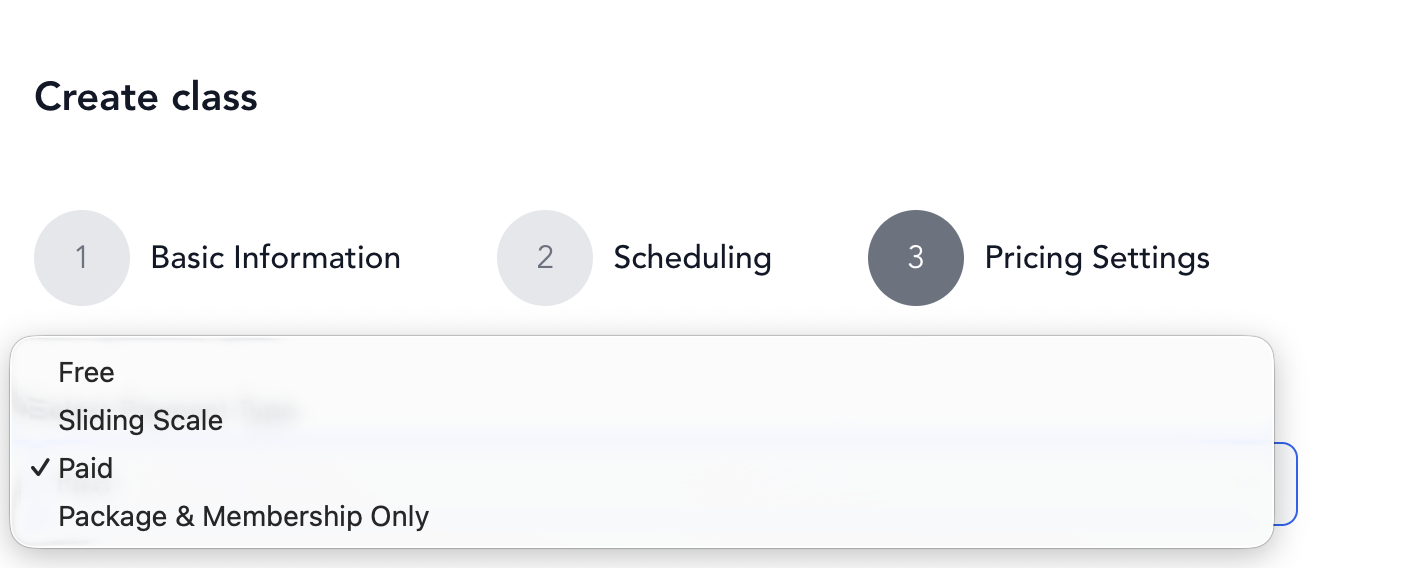
For most studios, Package & subscription only is the right choice for regular classes. It enforces your credit policy and prevents refund requests.
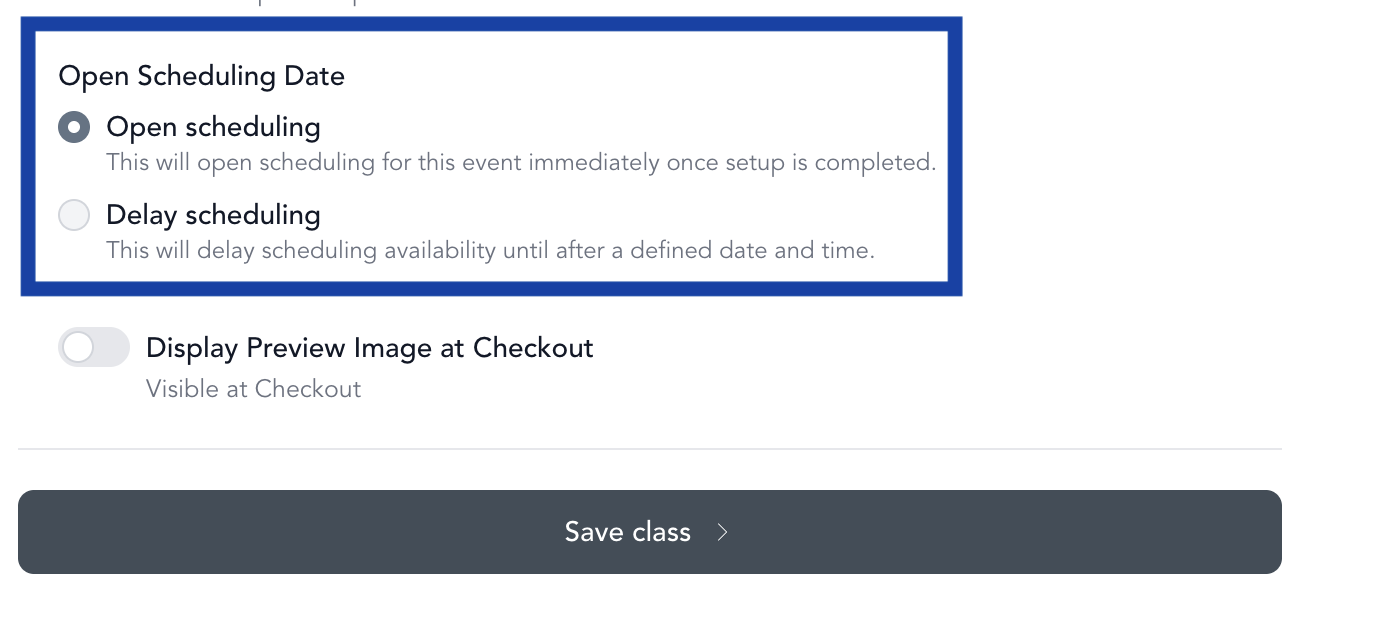
Configure advanced settings (optional)
- Class filters — workout type, area of focus, intensity, equipment (useful if you plan to upload the class to your video library)
- Checkout confirmation message — shown to clients after booking
- Preview image — appears in confirmation and reminder emails
- Display preview image at checkout — useful for marketing events
- Open scheduling / Delayed scheduling — control when the class becomes bookable:
- Open immediately — bookable as soon as it's created
- Delay by specific date — opens on a set date and time (e.g., post all classes Sunday at noon)
- Delay by relative date — opens relative to class start (e.g., 1 week before class at 12pm)
[IMAGE TODO] Take a screenshot showing the "Advanced Settings" step of the Add Class form, with the delayed scheduling options visible (Open immediately, Delay by specific date, Delay by relative date).
Save
Click Save Class.