
Event and workshop checkout images
Add a banner photo to your event or workshop checkout page and use the recommended size so it looks sharp.
When you set up a class as an event or workshop, you can add a large banner photo at the top of its checkout page. This guide covers the recommended image size and how to add or update it.
Why events and workshops have checkout images
Events and workshops are special class types: they can display a large banner photo at the top of the checkout page. A good banner makes the page look polished and helps sell one-off events, workshops, and specials.
Regular recurring group classes don't use this checkout banner — it's specific to the event and workshop class types.
Photos on regular class service types
Regular recurring group classes can still have a photo on their service type, but it shows up as a small thumbnail — for example next to the class details on the booking confirmation page and in the booking confirmation email — not as a large banner.
Because of that, the 1200 x 540 size below is the wrong shape for a regular class photo. A wide, short image scaled down to fit a small thumbnail ends up looking tiny, even though nothing is cropped or stretched. For regular recurring group classes, upload a square or close-to-square crop so the photo fills the thumbnail.
Not sure which type to use? See Classes, events & appointments for the difference between each one and when to use it.
Recommended image size
Use 1200 x 540 pixels for the checkout banner.
This wide, landscape ratio fills the top of the checkout page cleanly. Sizing your image to match avoids awkward cropping, stretching, or blur.
Save your image as a standard web format (JPG or PNG) and keep the file reasonably small so the checkout page loads quickly.
Add or update the image
Create or edit the event or workshop
When adding a class as an event or workshop — or editing an existing one — upload your photo in the class's image field.
Preview the checkout page
After saving, open the checkout page to confirm the banner displays the way you want.
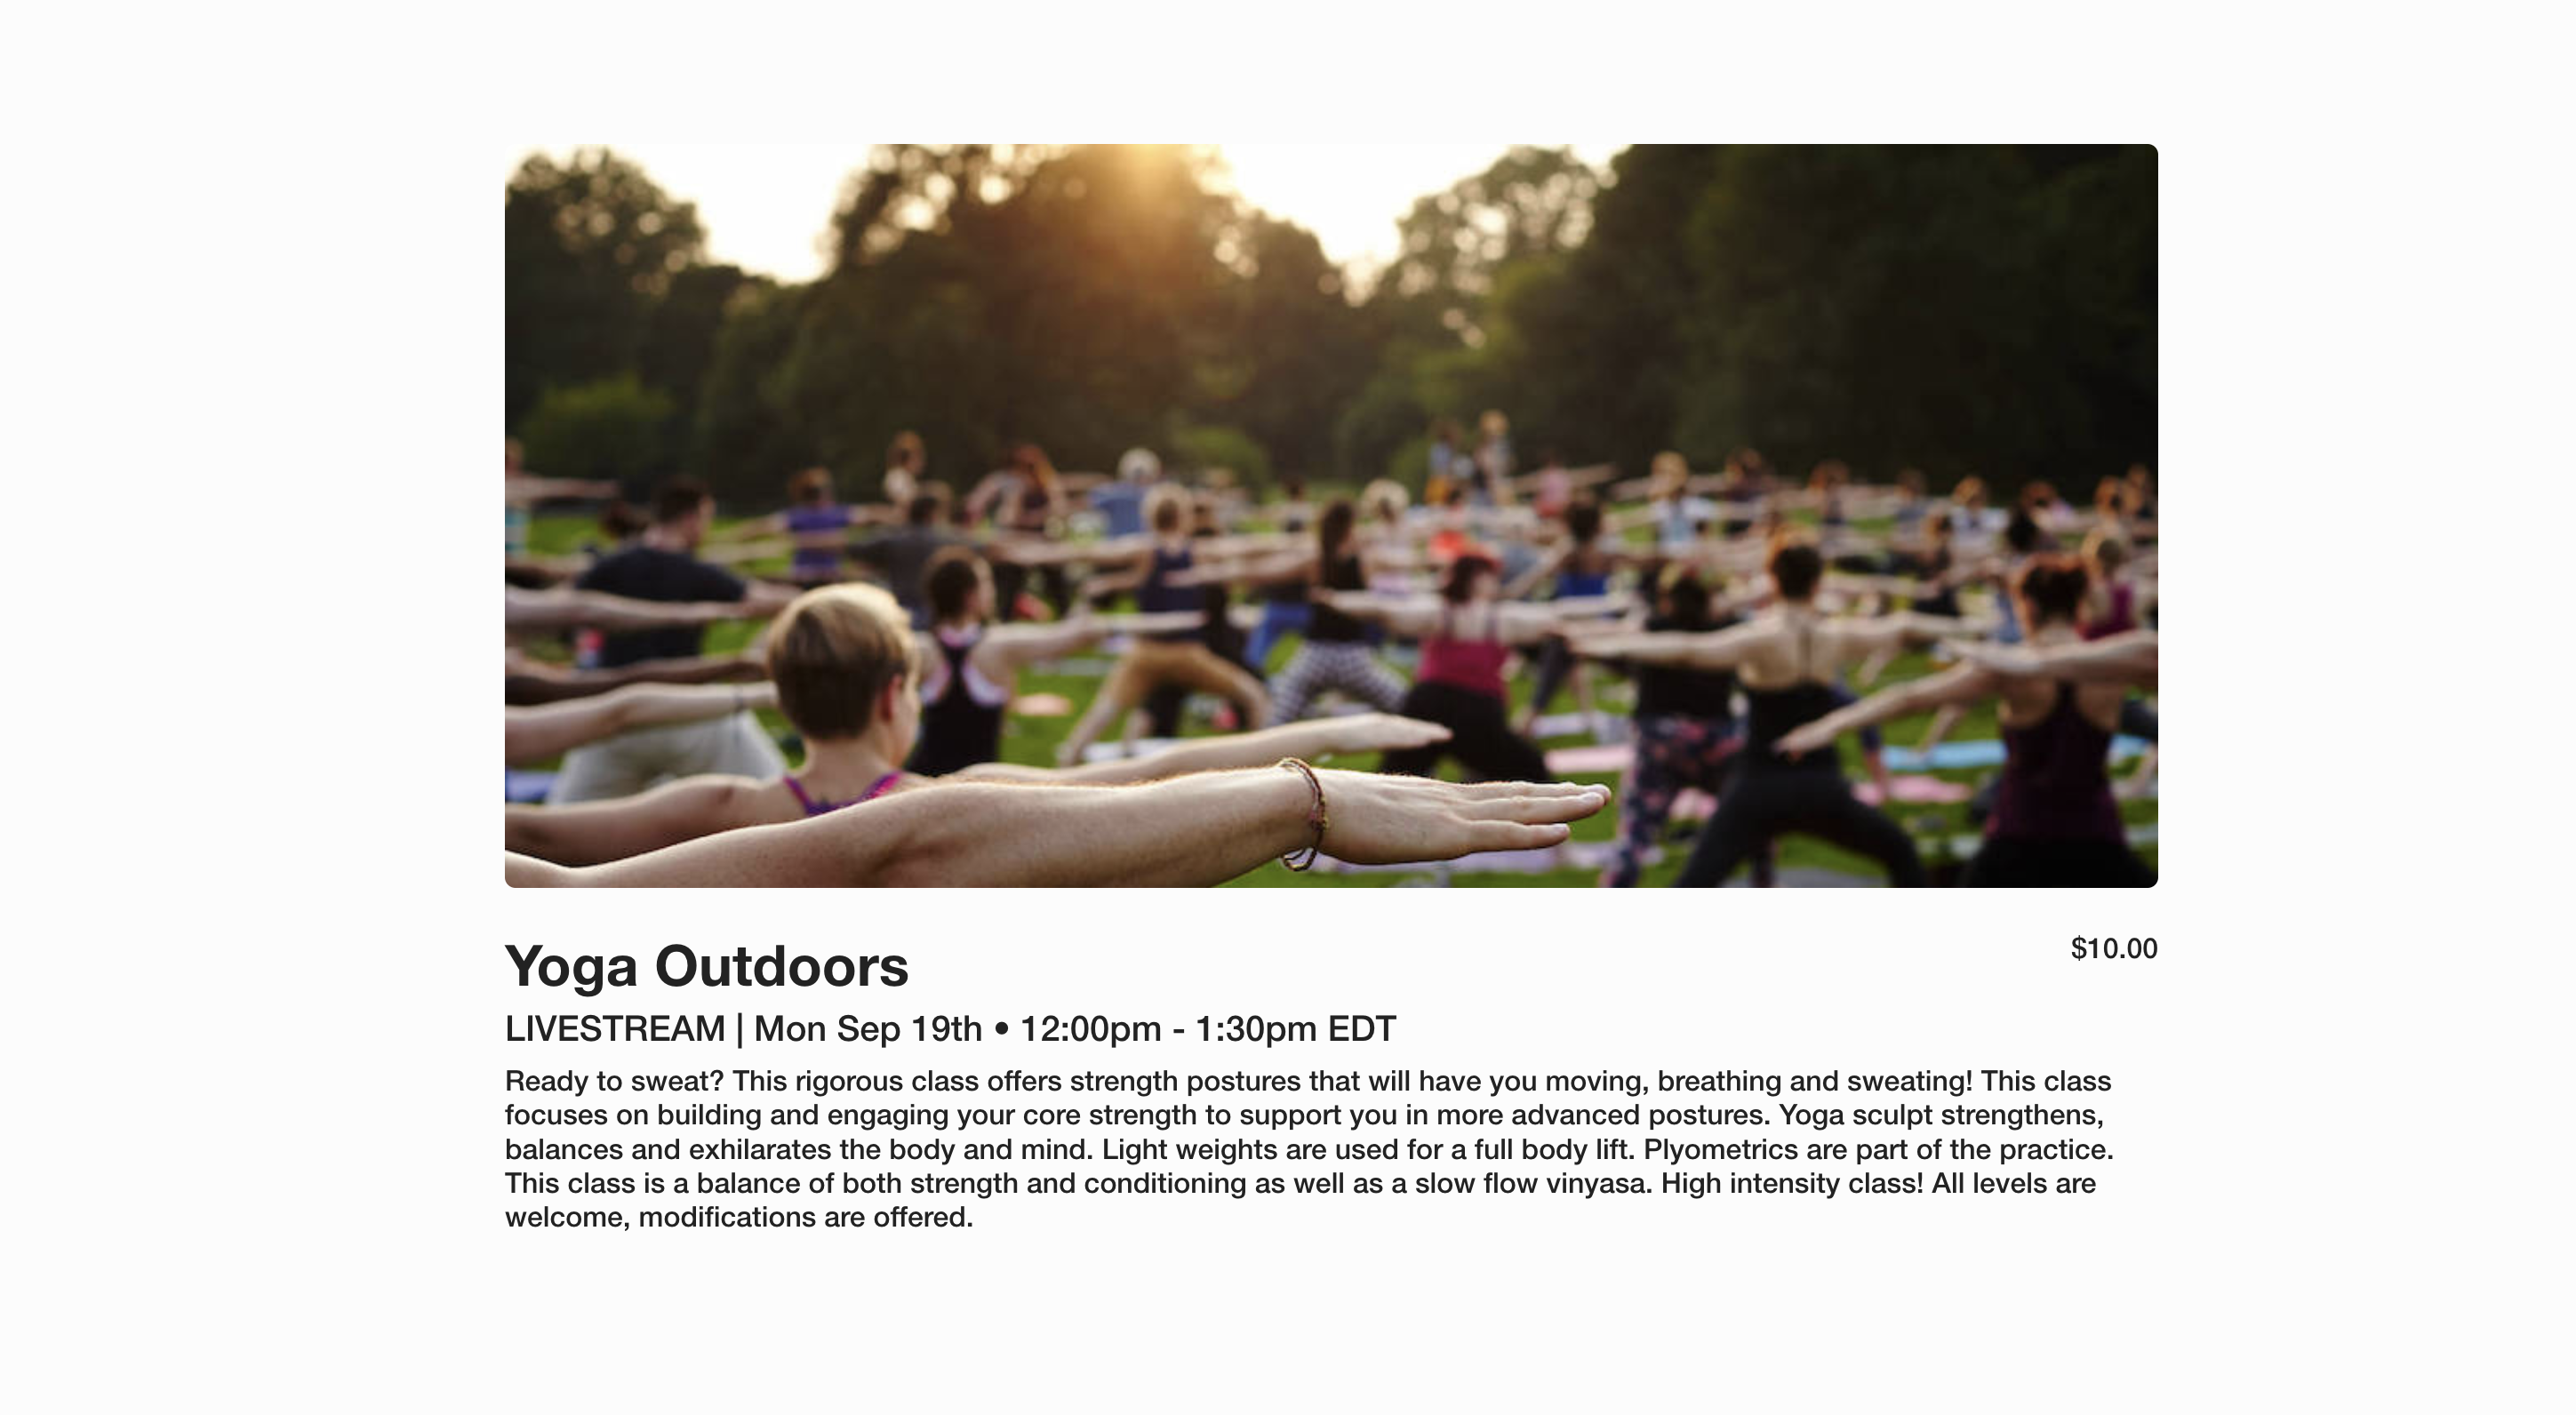
You can swap the image any time by editing the event or workshop and uploading a new one.