Set up business settings
Configure your business name, branding, cancellation policy, and key preferences before you go live.
Business settings control how your Arketa account looks and behaves — everything from your scheduling URL to your liability waiver. Getting these right before you go live saves you from having to update things later.
Where to find settings
Most of your setup lives in two places:
- Settings → Business — your name, logo, timezone, policies, and operational settings
- Settings → Public Facing Settings — the details clients see when they visit your booking page
Business settings
Go to Settings → Business to configure:
Basic information
- Business name — this appears on your booking page and in all client communications
- Logo — upload your brand logo (recommended: PNG with transparent background, at least 400px wide)
- Profile image — shown on your public page
- Scheduling URL — your unique URL slug (e.g.,
app.arketa.co/yourstudio). This is required for embeds and direct links. Choose carefully — changing it will break existing links.

Cancellation policy
Your cancellation policy appears on booking confirmation emails and on your public page. Write it in plain language so clients understand what to expect.
Be specific about your late cancellation window and whether you charge fees. For example: "Cancellations made less than 12 hours before class are charged a $10 late cancel fee."
You can also set automated late cancel and no-show fees — see Automated late cancel fees.
Liability waiver
If you want clients to sign a liability waiver before booking, add it here. You can paste in your waiver text directly. Clients will be required to e-sign it on their first booking.
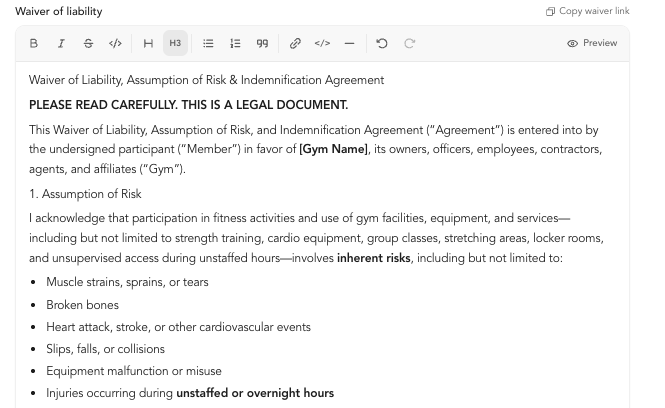
Arketa supports digital e-signatures that are legally binding. Waivers are stored on each client's profile so you always have a record. Learn more about liability waivers →
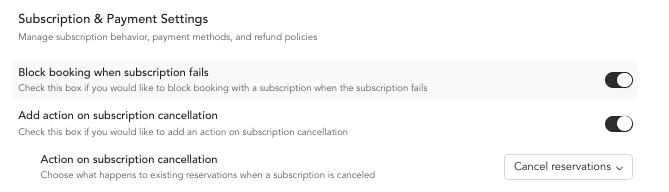
Key general settings
These are toggle switches in Settings → General Business Settings that control important behaviors:
Manage signed liability waivers
Once your waiver is set up, Arketa handles collecting and storing signatures for you. Here's how the signing experience works and how to manage waivers over time.
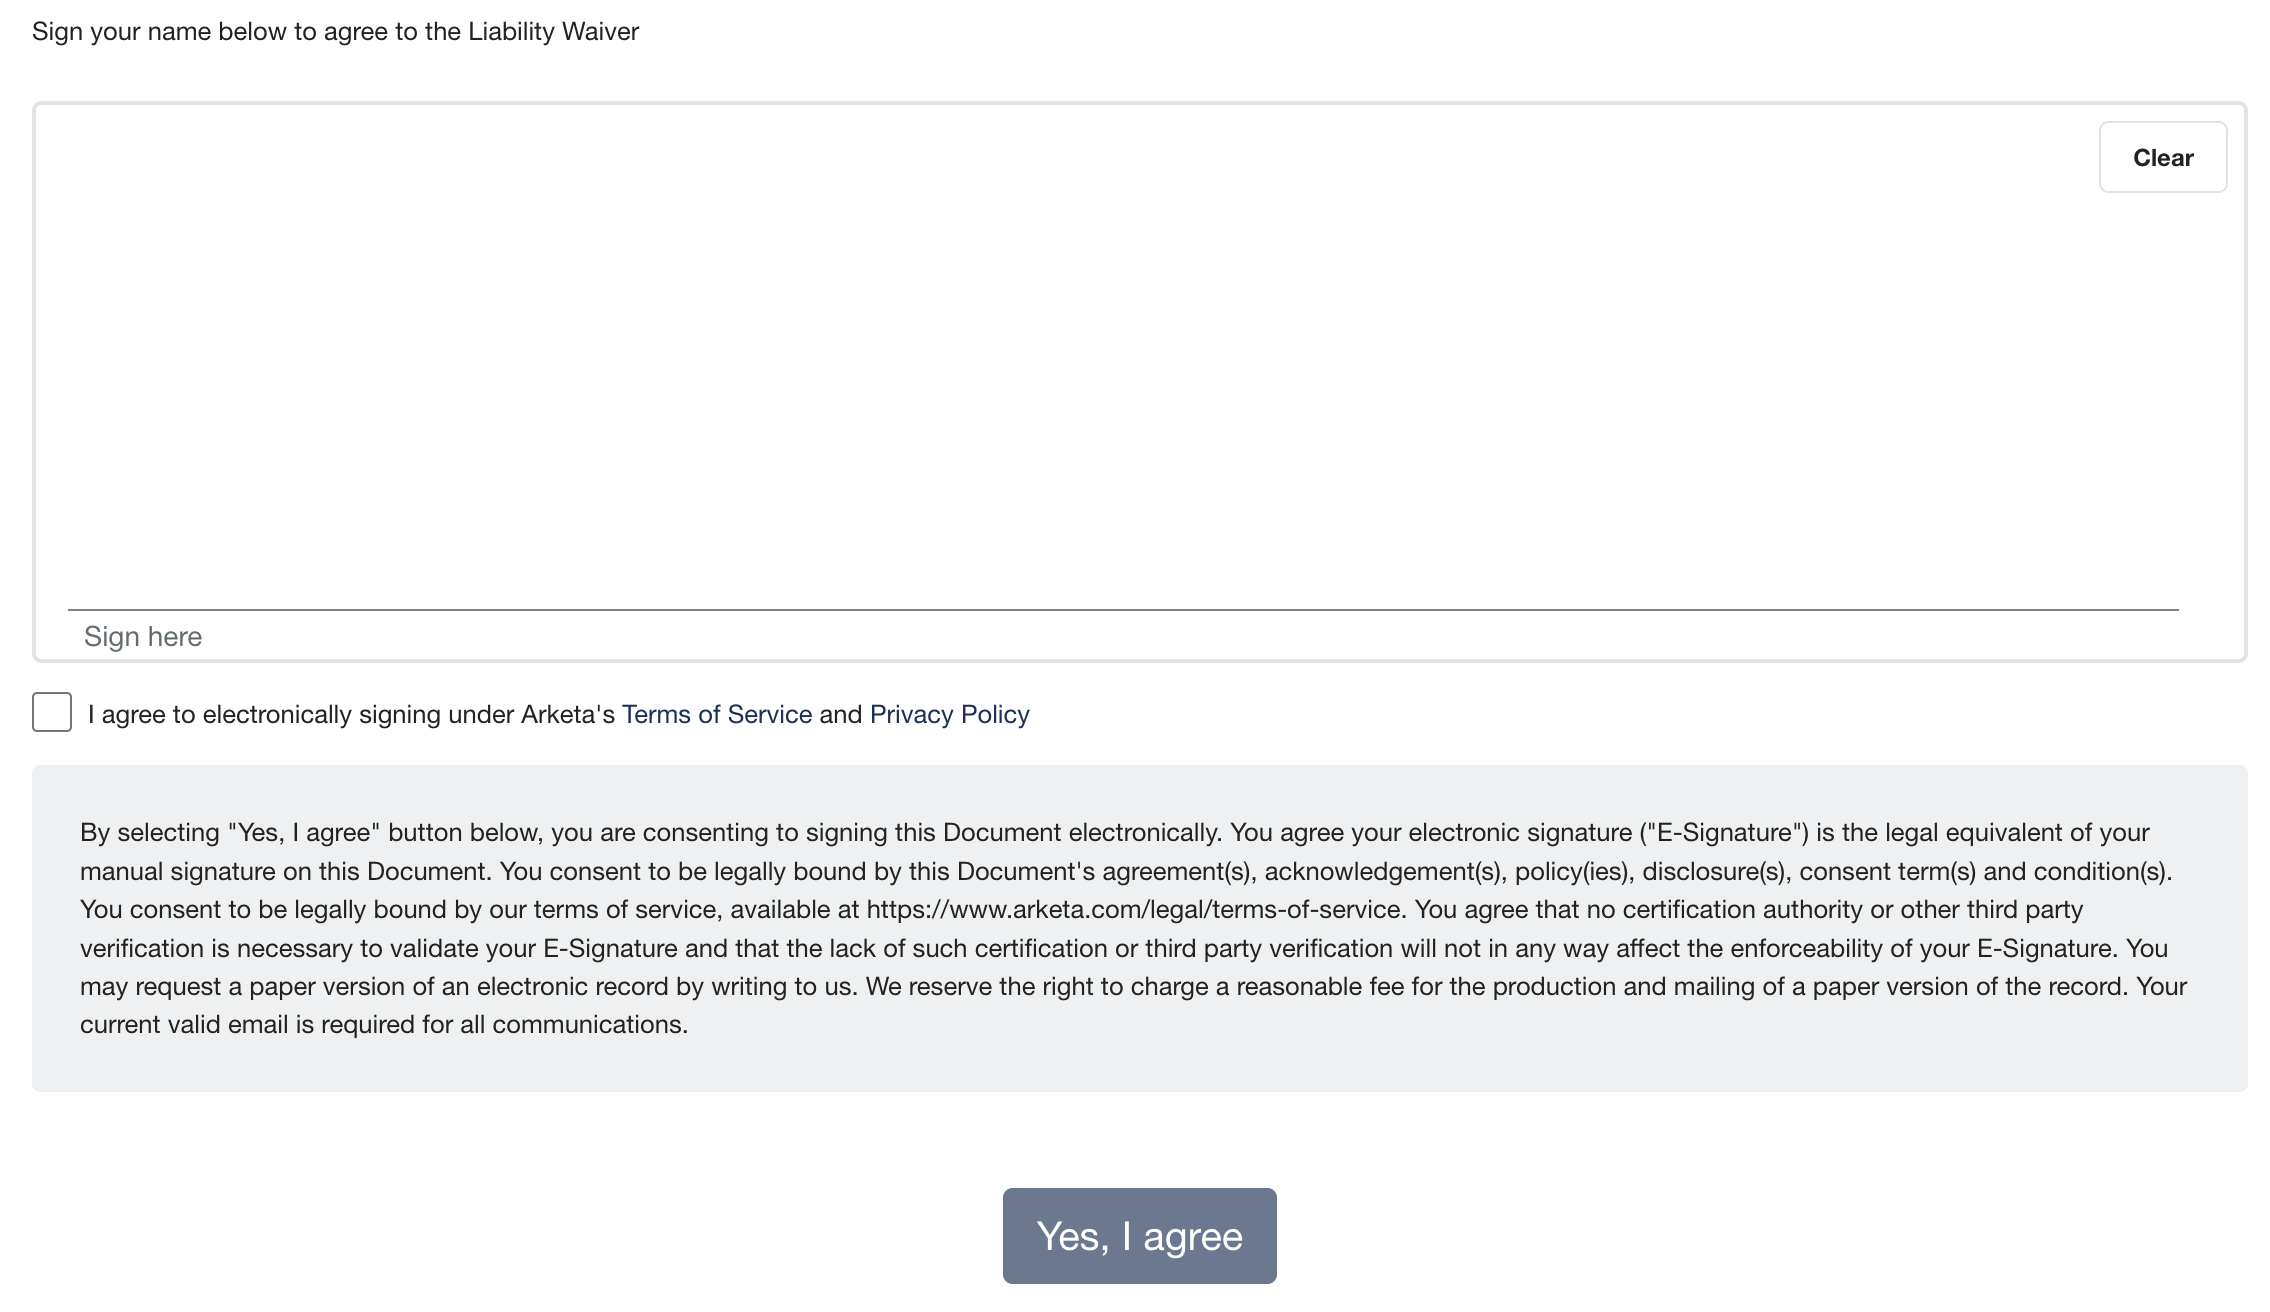
What clients see when signing
When a client signs up for a class, they're first asked to acknowledge the liability waiver, then to e-sign it. Before signing, they enter their first name, last name, email address, and phone number.
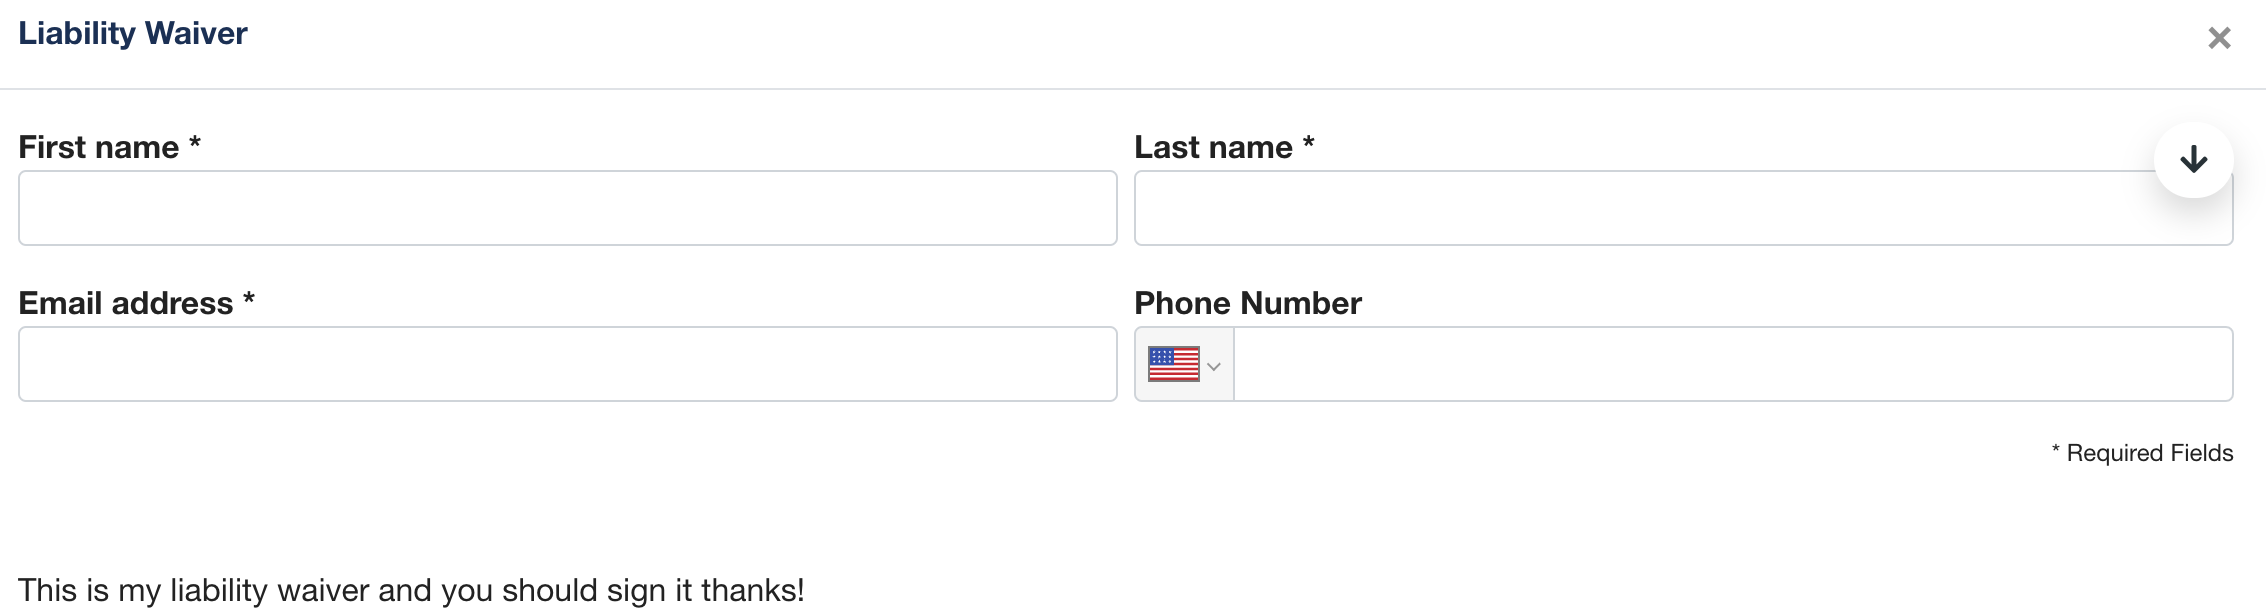
They're then presented with the waiver text you created under Settings → General Business Settings and asked to e-sign.
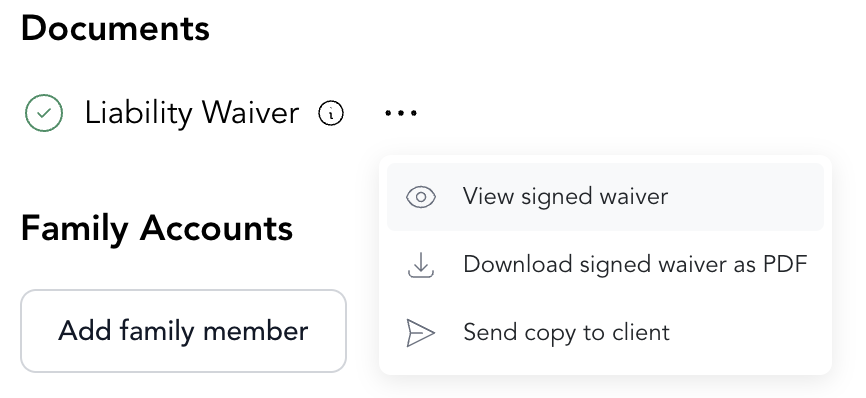
View a signed waiver
Every signed waiver is stored on the client's profile. To find it, go to Clients, open the client's profile, and scroll down to Liability waiver. From there you can:
- View signed waiver
- Download signed waiver as a PDF
- Send a copy of the waiver to the client
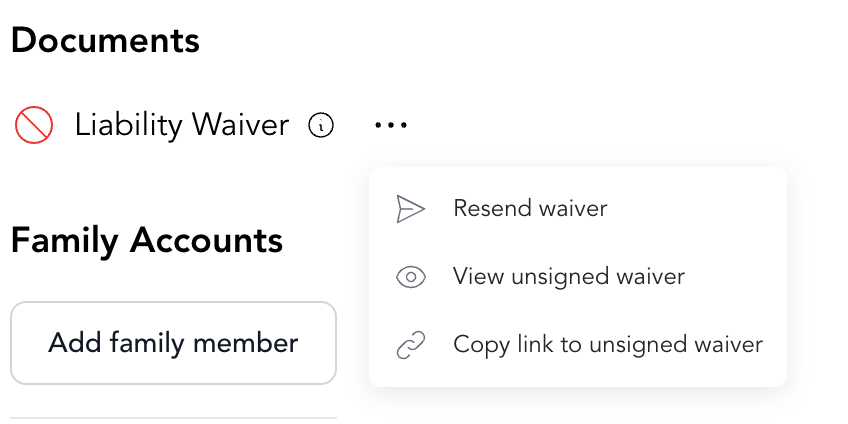
When a client hasn't signed
If a client hasn't signed the waiver yet, the Liability waiver section on their profile shows the unsigned state instead. From there you can:
- Resend the waiver — by email or text
- View unsigned waiver
- Copy a link to the unsigned waiver
Re-request signatures from existing clients
Some clients may have only acknowledged your waiver in the past rather than e-signing it. You can ask everyone to e-sign again:
- Go to Settings → General Business Settings.
- Scroll to the bottom of the page and select Reset Term Agreements for All Clients.
- Confirm the request. A pop-up confirms the waiver has been reset to request an e-signature from new and existing clients.
After you reset term agreements, existing clients are asked to e-sign your liability waiver the next time they sign up for a class.
Turn off e-signature
If you'd prefer clients simply acknowledge the waiver rather than e-sign it:
- Go to Settings → General Business Settings.
- Deselect the Enable signed liability waiver checkbox.
- Click Save.
Once saved, clients are no longer asked to e-sign — they'll just acknowledge the waiver going forward.
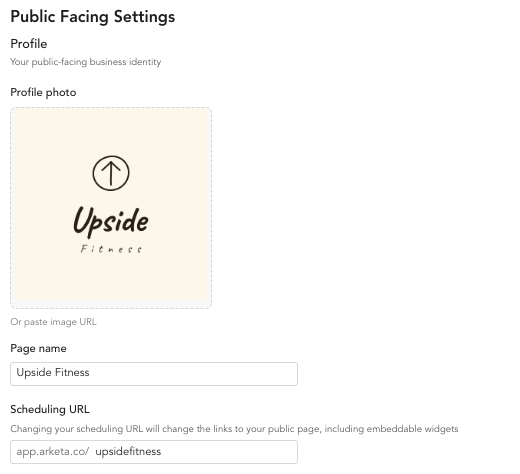
Public facing settings
Go to Settings → Public Facing Settings to configure what clients see:
- Business name (as displayed publicly)
- About / description — shows on your booking page
- Contact email — the reply-to address on all client emails. Make sure this is an address you check regularly.
- Social links — links that appear on your client account page if you have a Branded Mobile App
Your scheduling URL set in Business Settings must match what you use in your website embeds. If you change it, update all your embedded widgets too.
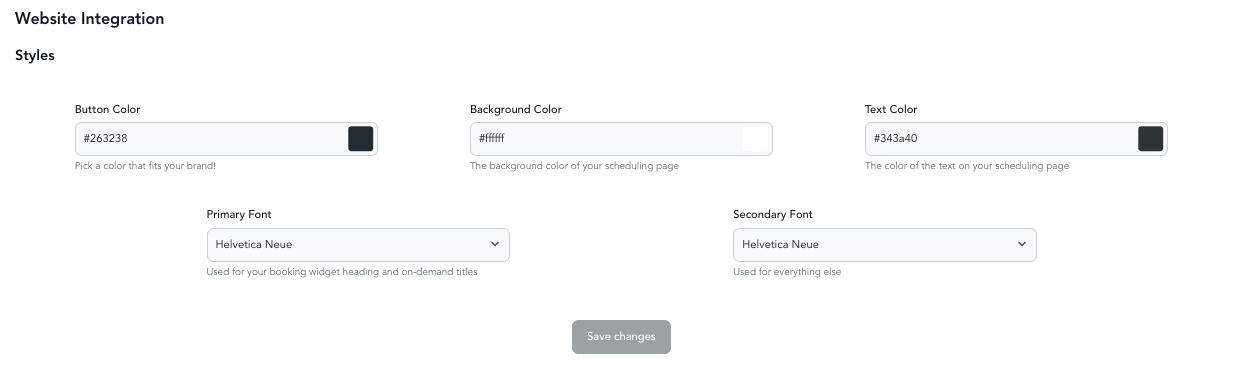
Website integration branding
If you embed Arketa on your website (via iframe), you can customize its appearance to match your brand.
Go to Sales Channels → Website Integration to set:
- Brand colors
- Font preferences
- Which widgets appear
Learn more about embedding Arketa →
What to check before you go live
- Scheduling URL is set and you're happy with it
- Logo and profile image are uploaded
- Timezone is correct
- Cancellation policy is written
- Liability waiver is added (if you use one, highly recommended)
- Confirmation email text is set
- Contact email is a real address you check