Create a community
Set up a new community, challenge, or digital program.
Create a community
- Go to Beyond Classes → Communities
- Click Add New
- Choose a template:
| Template | Content types |
|---|---|
| 30-day challenge | Live schedule + videos + resources + optional forum |
- Fill in the sales page information — title, description, cover image, and an optional Video trailer
- Click Save Changes
About the Video trailer: If you add a Video trailer, clients see a play button over the cover image on the community's sales page — clicking it plays the trailer. This is expected: the play button means a trailer is attached, not that your cover image was uploaded as a video. To show a static cover image with no play button, leave the Video trailer field empty — or remove an existing trailer by going to Beyond Classes → Communities, opening the community, and clearing the Video trailer field.
Set status and access
| Setting | What it does |
|---|---|
| Draft | Still building — not visible in the widget; anyone with a direct link can see it |
Use Draft + Live to work on new programs in the background while other programs are actively selling. Use Open + Closed to control enrollment windows — list a program as Live/Closed to build waitlist interest, then switch to Open when you're ready to sell.
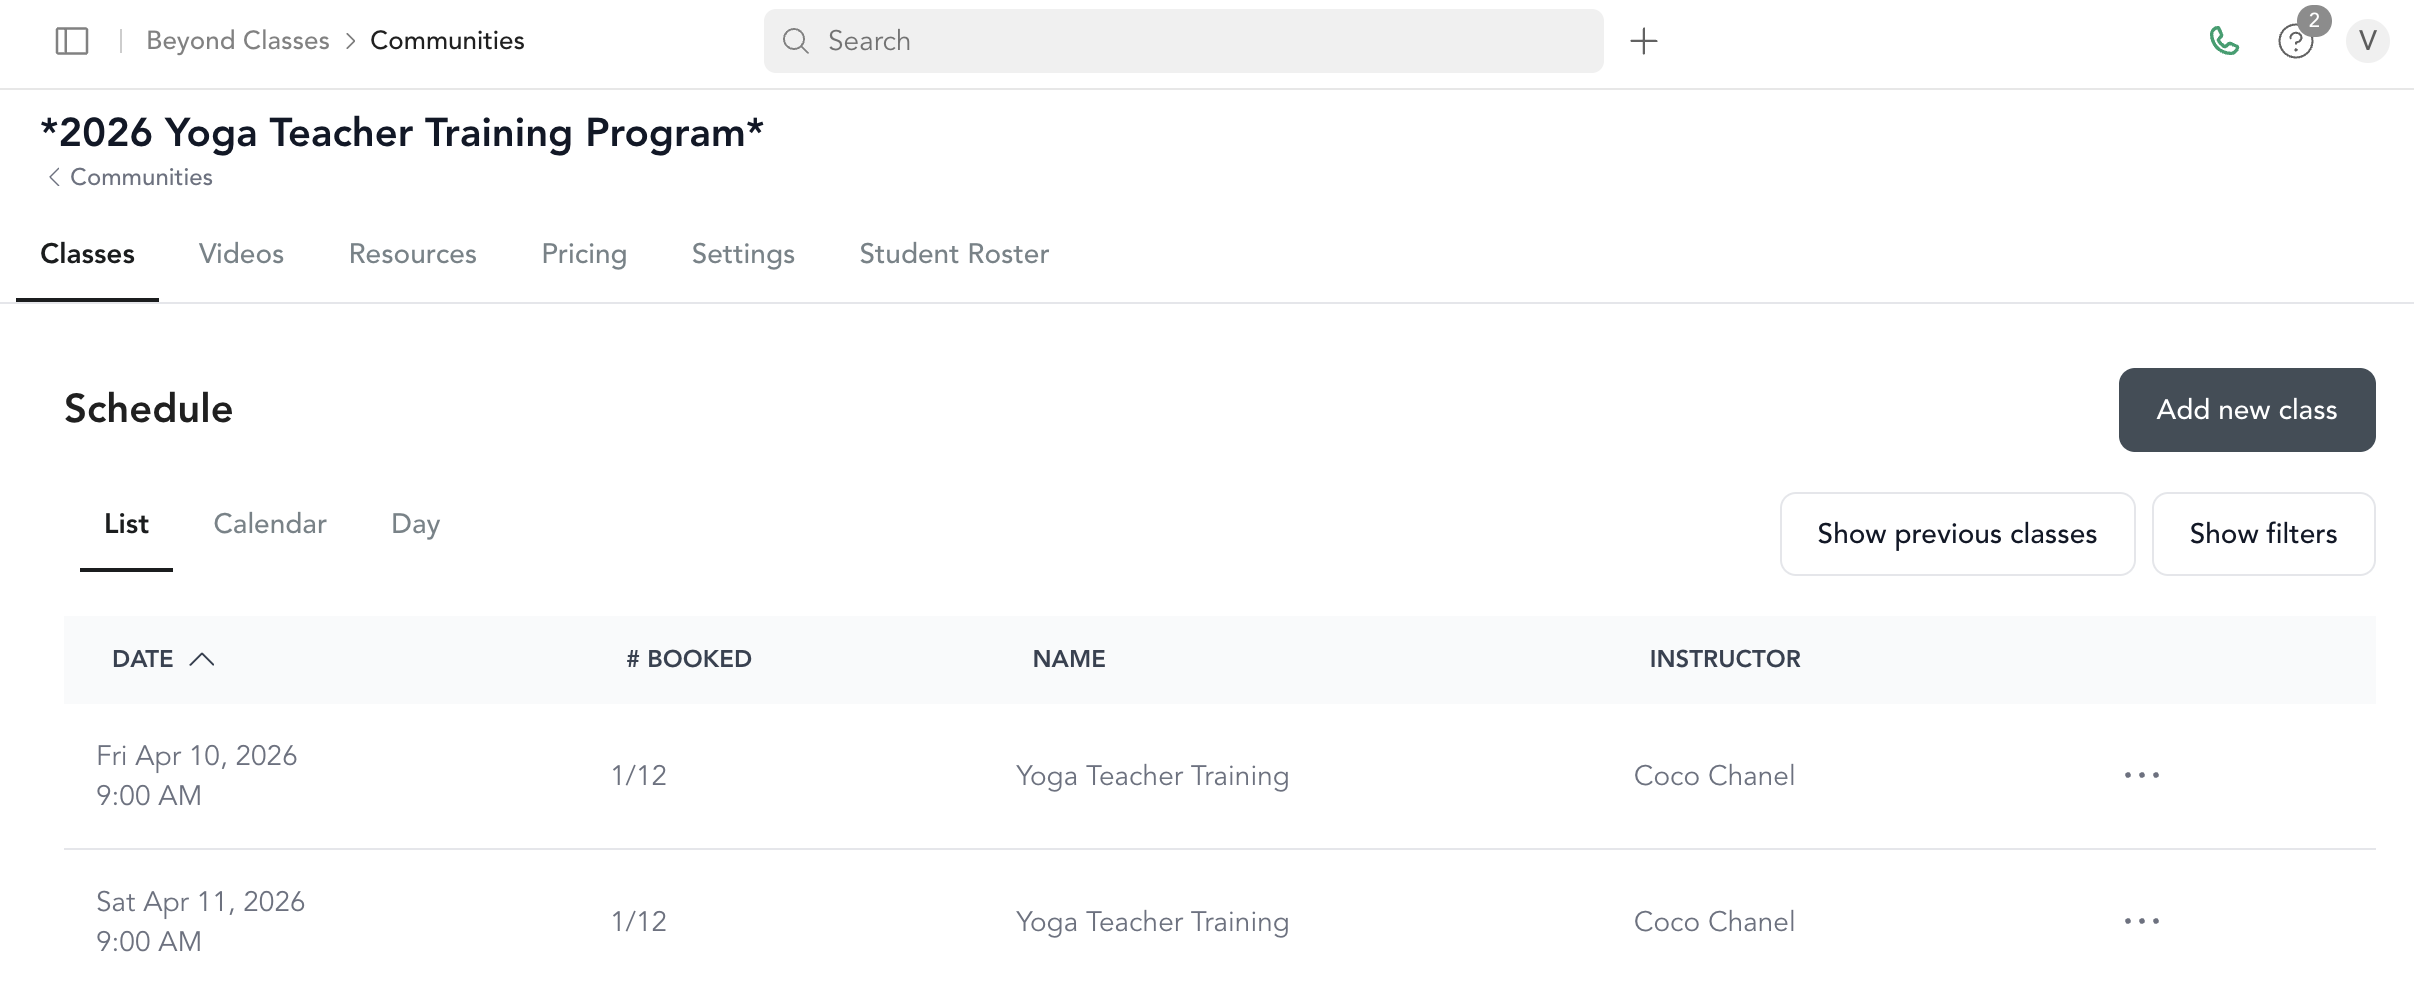
Add content
After creating the community, add content through the tabs inside the community:
- Schedule — Add live classes (linked to your class schedule)
- Videos — Upload or duplicate from your on-demand library
- Resources — Upload PDFs, paste links, or add audio files
- Forum — Enable community discussion (toggle in settings)
Set pricing
See community pricing for how to create a one-time, subscription, or payment plan option for your community.
Duplicate a community
To reuse a community as a starting point for a new one, go to the community, open quick actions, and click Duplicate. This copies the title, photo, and description — but not the content inside (videos, resources, schedule).