Client tags
Tag clients to segment your list, gate class access, and power automations.
Tags are labels you add to client profiles to group them into meaningful segments. They're flexible — use them for anything from tracking client status to unlocking class access to powering marketing automations.
Add a tag to a client
- Go to Customers → Clients and open the client's profile
- Find the Tags section
- Add the tag (create a new one or select an existing one)
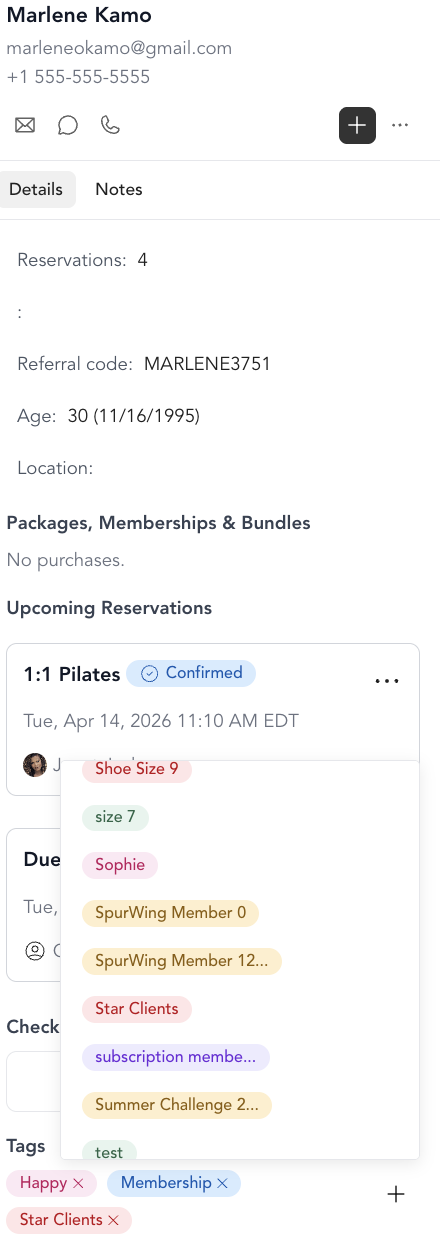
You can add multiple tags to a single client.
Remove a tag
Open the client profile, find the Tags section, and click the X next to the tag you want to remove.
Add or remove tags in bulk
Tag many clients at once instead of editing profiles one at a time. There are two ways to do this.
From the client list
- Go to Customers → Clients
- Select the checkbox next to Name to select clients
- A pop-up appears at the bottom of the screen — add or remove tags there

From a pricing option
- Go to Setup → Pricing and open a pricing option
- Click the checkmark next to Name to select every client on that pricing option
- Add or remove tags for the whole group at once
What tags can do
Segment your client list Filter the client list by tag to see groups — all VIPs, all new joiners, all at-risk members, etc. Save these as Client Views for quick access.
Control class access Set booking requirements on a service type that only allow clients with a specific tag to book. For example: clients need an "Advanced" tag to book your advanced classes.
Power marketing automations Use tags as triggers or conditions in automations. Example: "When a client is tagged with 'Intro Complete', send them an email about advanced programs."
Track client status Use tags informally as status labels — "at risk", "VIP", "trial member", "referred by Sarah" — anything that helps your team work with clients more effectively.
Show or hide tags on the check-in screen
By default, a client's tags appear on the class check-in screen next to their name, so your team can see them at a glance. You can hide an individual tag from the check-in screen while keeping it on client profiles:
- Go to Settings → Tags
- Open the tag you want to change
- Turn Show on check-in off
When Show on check-in is off, the tag still appears on the client's profile and keeps working for segments, class access, and automations — it's just hidden on the check-in roster. Turn it back on to show the tag on the roster again.
The membership or package name shown on a client's check-in row (for example "VIP Silver Membership") is a separate label — it reflects the active membership the reservation was booked under, not a client tag, and it only appears once the reservation is paid through that membership.
Tag best practices
- Keep tag names short and consistent (e.g., "intro-complete" not "Has completed the intro class")
- Create a naming convention before you start tagging at scale
- Review your tags periodically and clean up unused ones
- Use automation to add/remove tags automatically when clients take certain actions