Add a client
Manually create a client profile in Arketa.
Clients are automatically created when someone books through your scheduling page or embedded widget. You can also add them manually — useful for walk-ins, transferred clients, or anyone you're setting up before they book themselves.
Add a client manually
-
Go to Customers → Clients
-
Click Add New in the upper right corner
-
Enter:
- First name
- Last name
- Email address
-
Click Add New Client
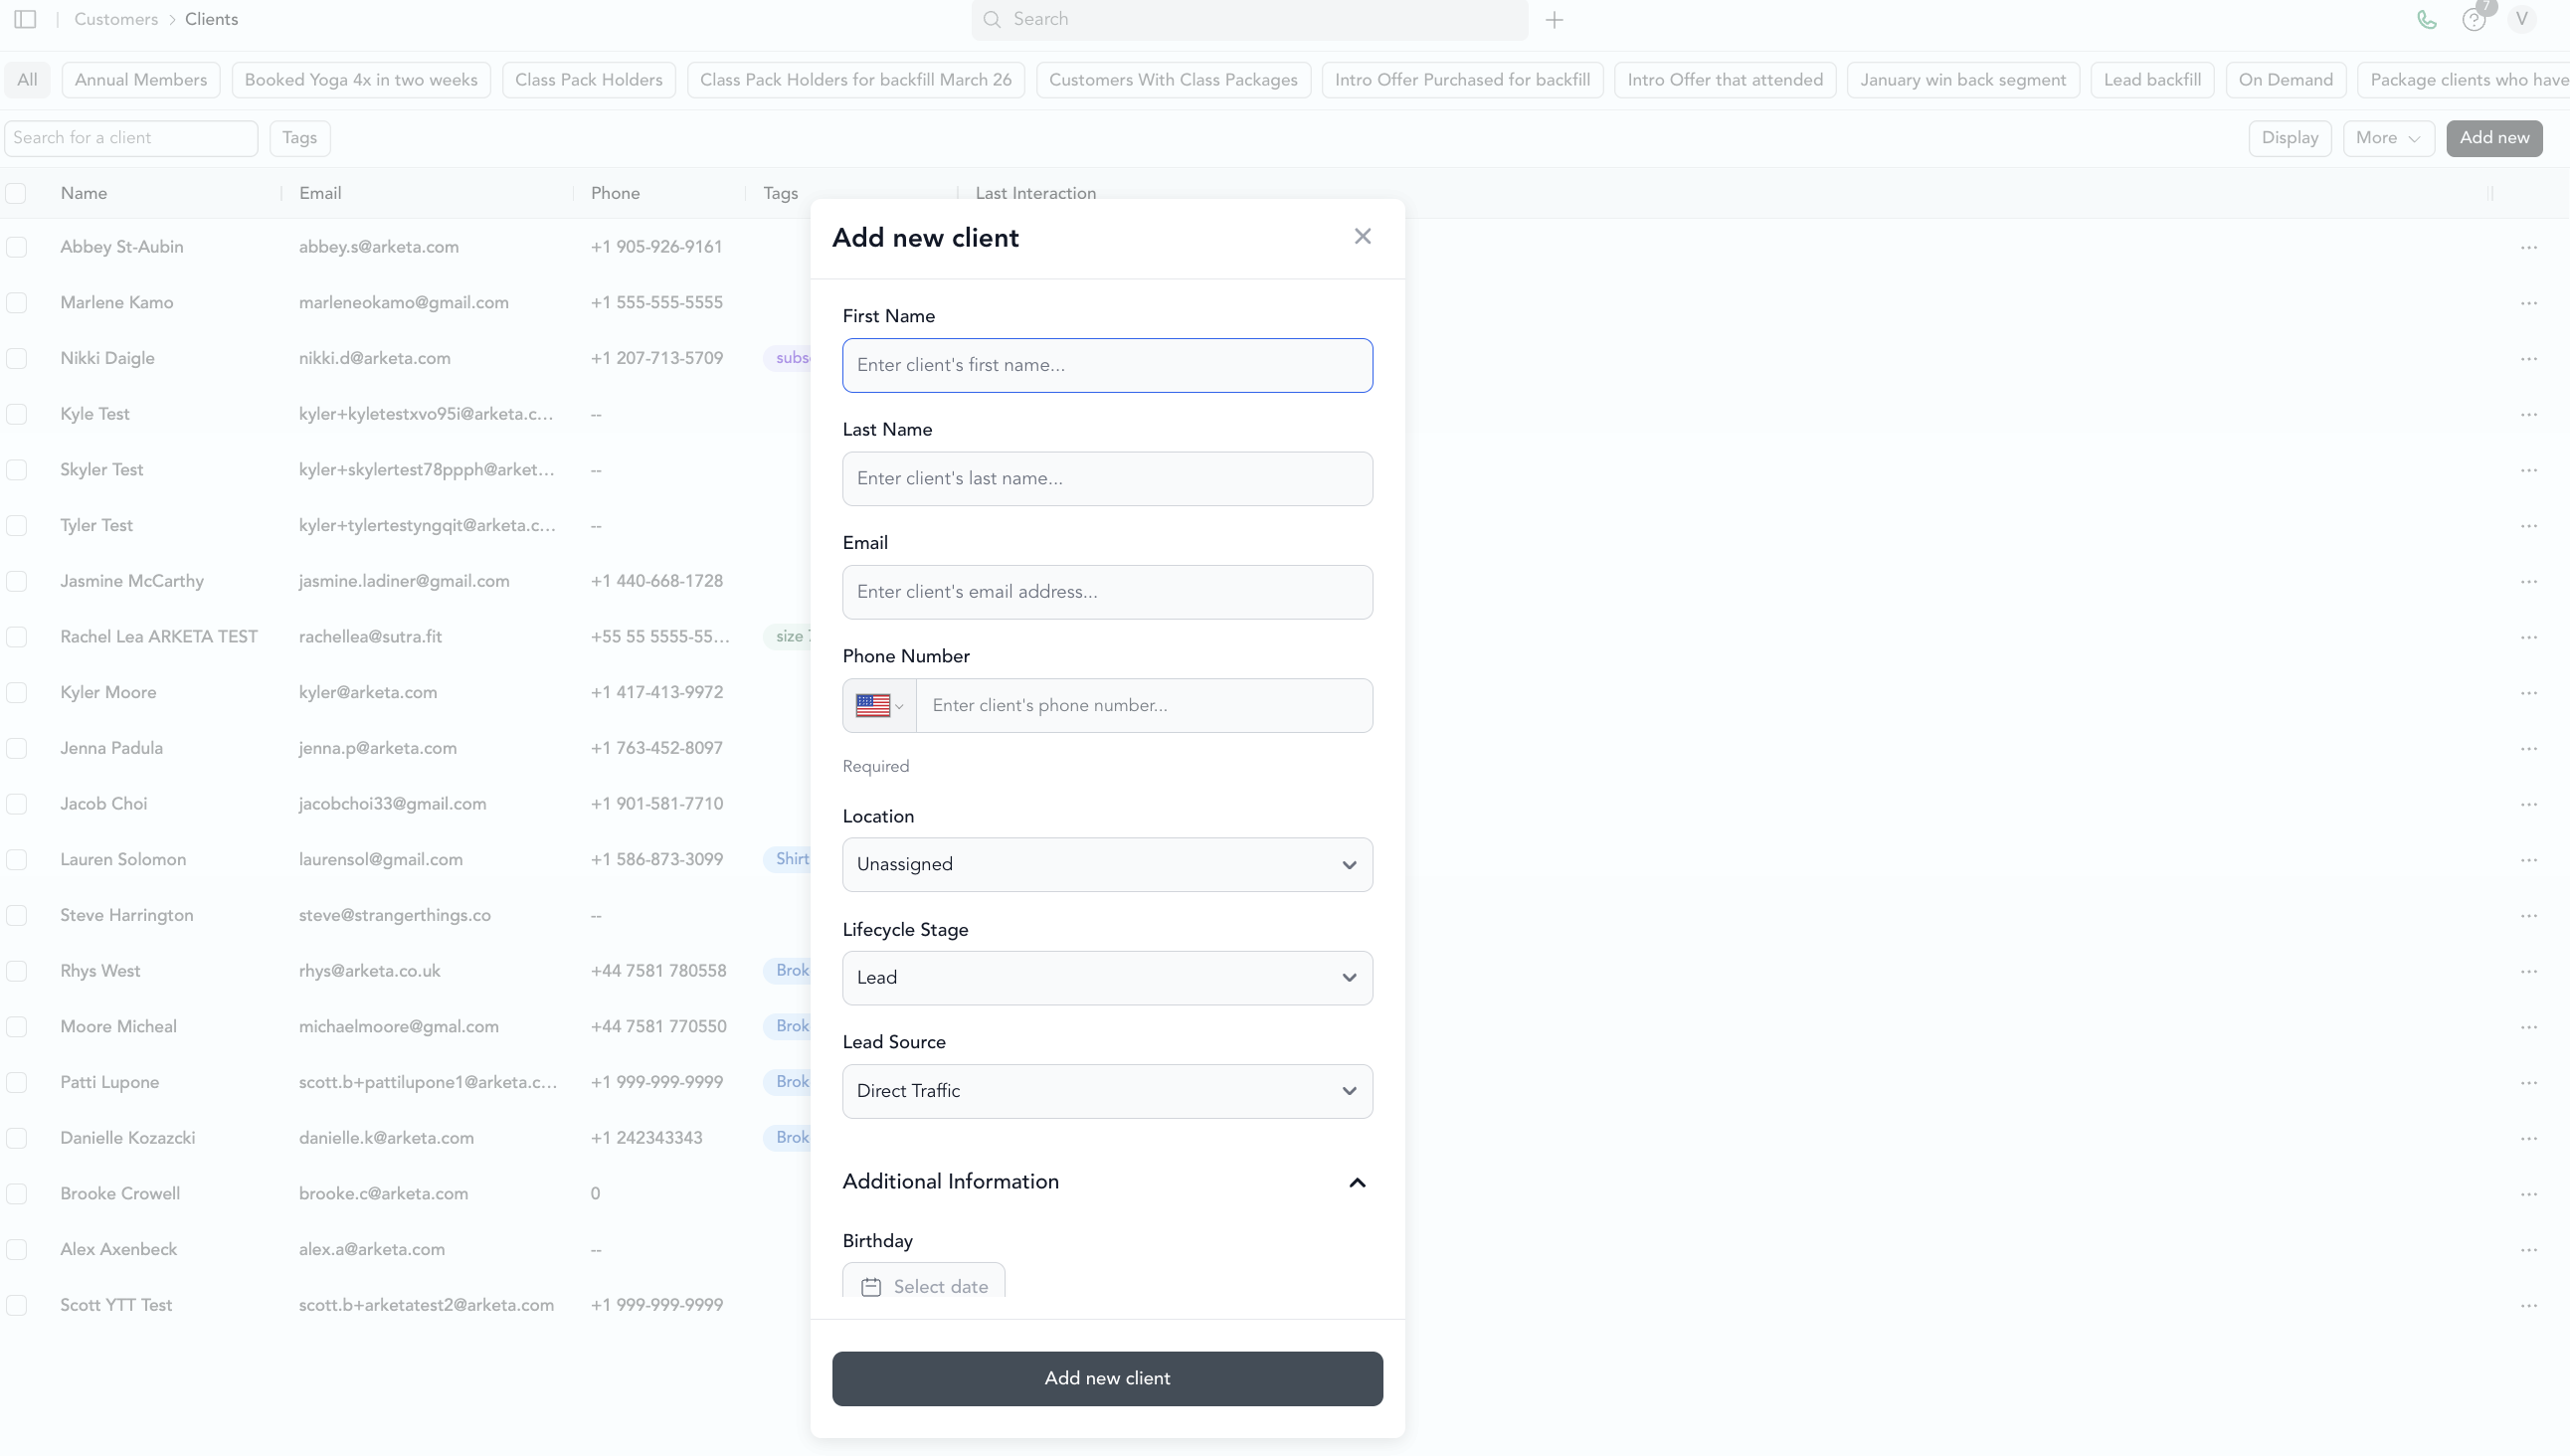
You need at least a first name, last name, and email to create a profile. Additional fields (phone number, birthday, address, etc.) can be added after creation or collected through custom fields on your booking page.
Require additional information at signup
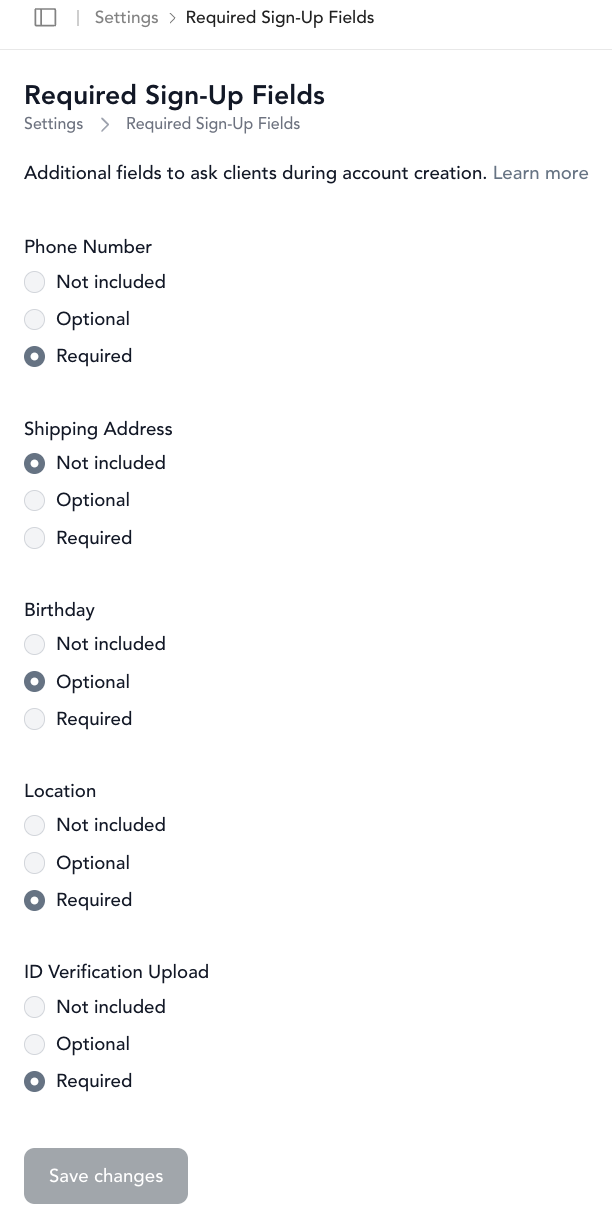
If you want to collect phone numbers or other details when clients create their own accounts, set that up in your custom fields:
- Go to Settings → Required Sign-Up Fields
- Add and mark the field as required
See custom fields for the full setup and to add additional client fields.
Sending a welcome email or waiver
After adding a client, you can:
- Send them a waiver link to sign your liability waiver
- Send a welcome/invitation email so they can set their password and access their account
Both options are available from the client's profile.
Clients created from bookings
When a client books for the first time through your website, widget, or app, Arketa automatically creates their profile. A profile is also created when someone signs up for a brand-new account on your scheduling page, even before they book.
Someone who logs in with an existing Arketa account — one they already use at another studio — won't appear in your client list until they book or purchase with you. Arketa accounts are shared across studios, so logging in on your page alone doesn't add a person to your list. This keeps your client list to people who have actually signed up or engaged with your business.
Duplicate accounts can happen if someone uses different email addresses — see merge accounts for how to handle that.
Leads vs. clients
Arketa creates a client record whenever someone becomes a contact in your account, and marks some of those contacts as leads — people who have shown interest but haven't been fully set up yet. A new lead always creates a client too.
A new lead is added when:
- A form is submitted with an email that has no existing client
- A message is sent through your embeddable widget with an email that has no existing client
- Someone subscribes to your newsletter and no client exists yet for that email
- A client is created inside a feature that has a lead life cycle attached
A new client is added when they are:
- Added manually through the dashboard
- Signed up through the widget
- Created after signing your liability waiver
- Created after submitting an intake form
- Created through the app
- Created from a migration
- Added as a family member from the widget
- Uploaded through the Upload feature in the client list