Create a reservation for a client
Book a client into a class or appointment from their profile or from the schedule.
You can book a client into any class or appointment directly from your dashboard — useful when a client calls in, for booking a walk-in, or adding someone to a class after the booking window closes.
From the class check-in screen
The fastest way to add a client to a specific class:
- Go to Full Schedule and click into the class
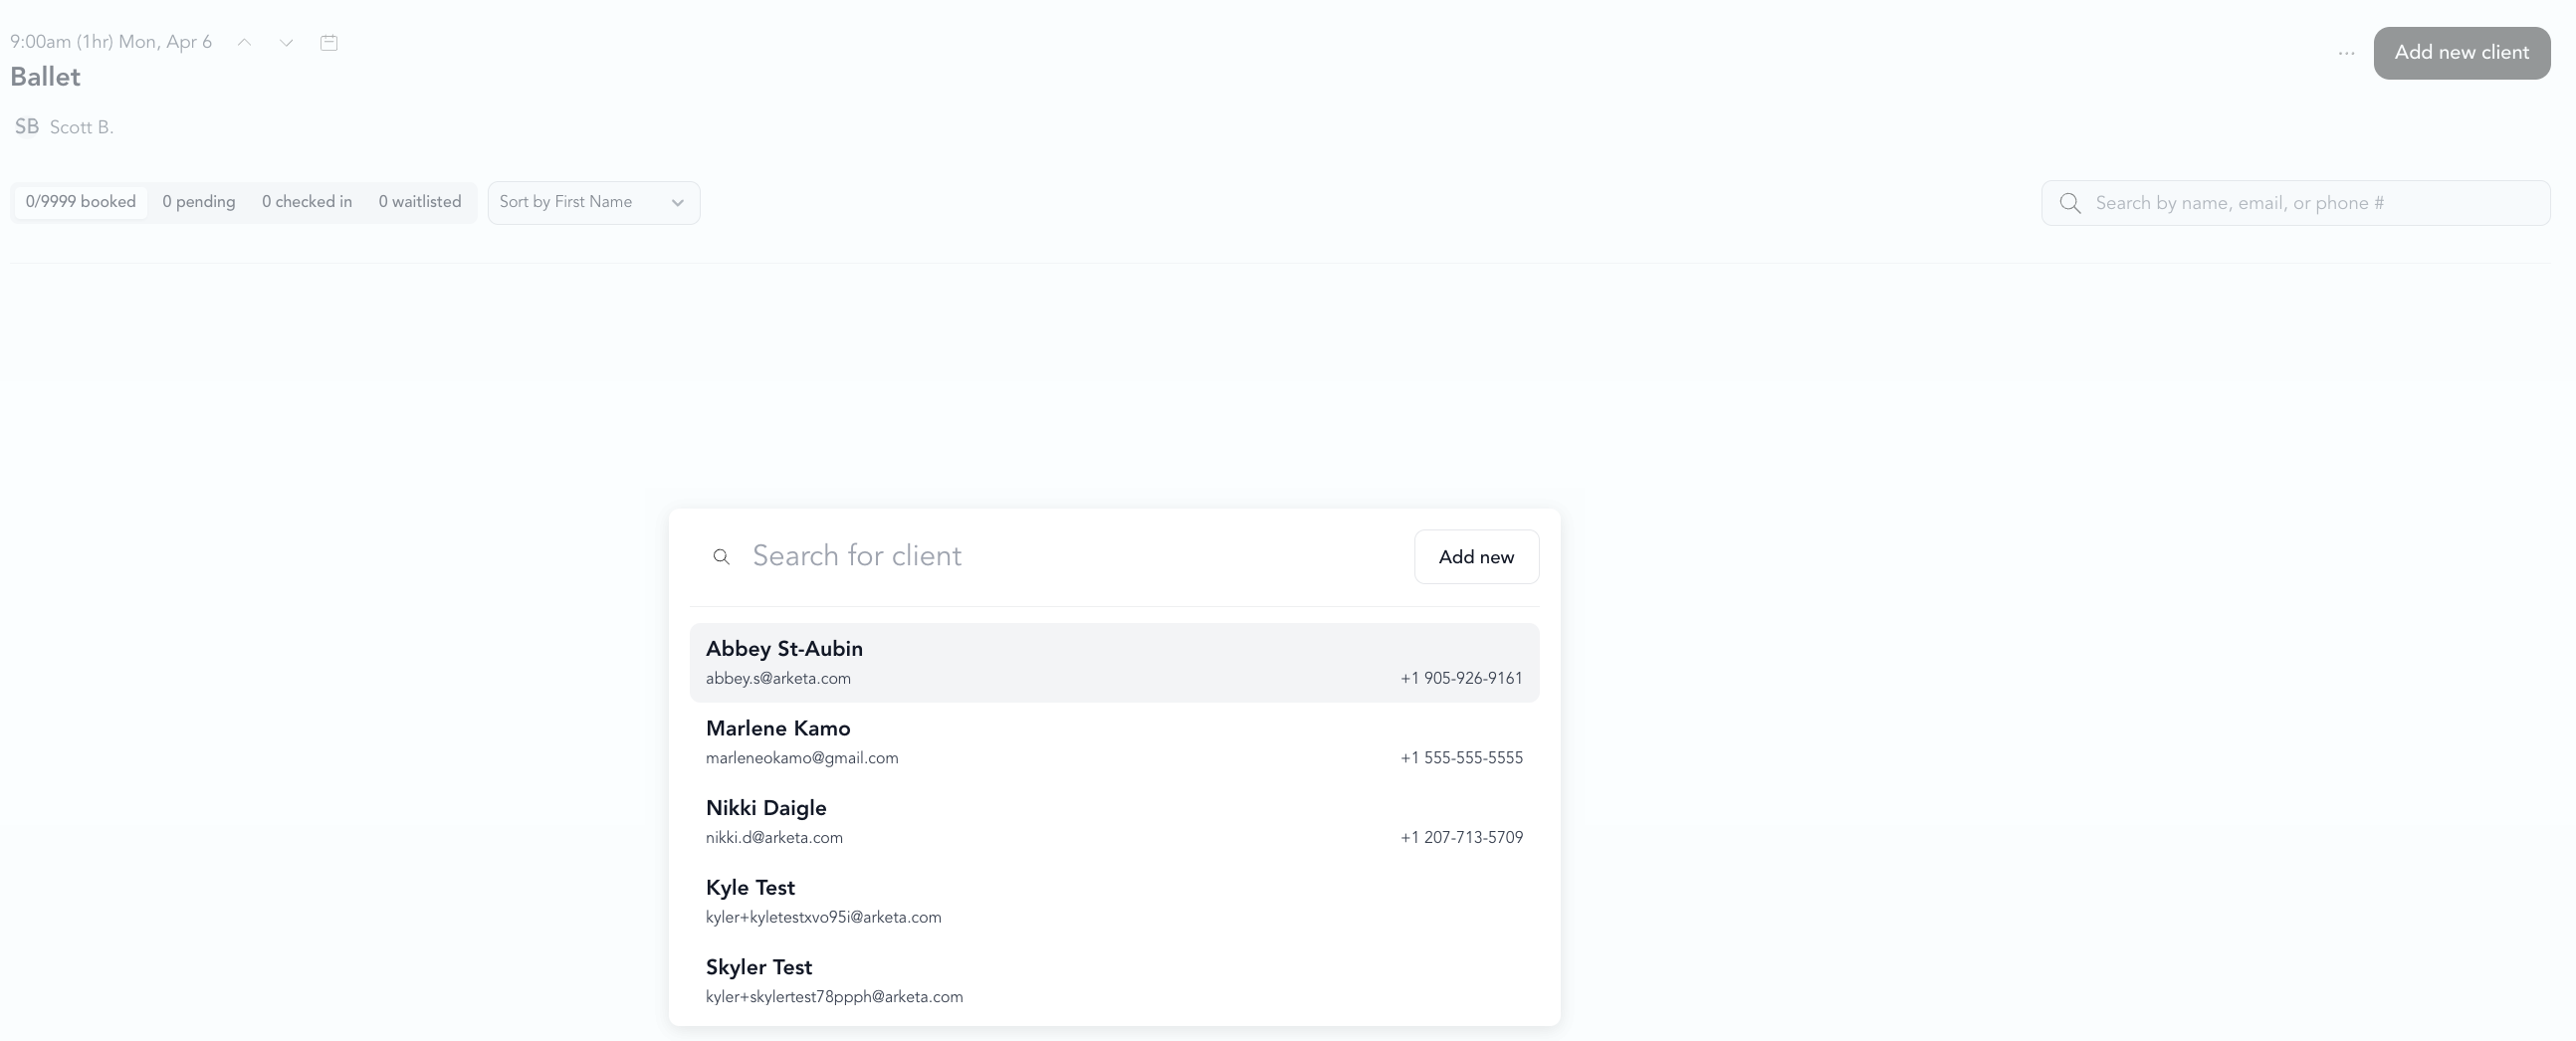
- Click Add new client (or the + button)
- Search for the client's name
- Select their payment method
- Confirm
See add a client to a class for the full walk-through, including adding new clients and handling payment.
From the appointments calendar
For appointments, drag and drop into a time slot on the calendar:
- Go to Classes → Appointments
- Click the time slot
- Select the client, service, and payment method
- Book
From a client's profile
- Open the client's profile
- Click Book or Add Reservation (if available from the Bookings tab)
- Select the class or appointment
- Choose payment method and confirm
Payment options when booking
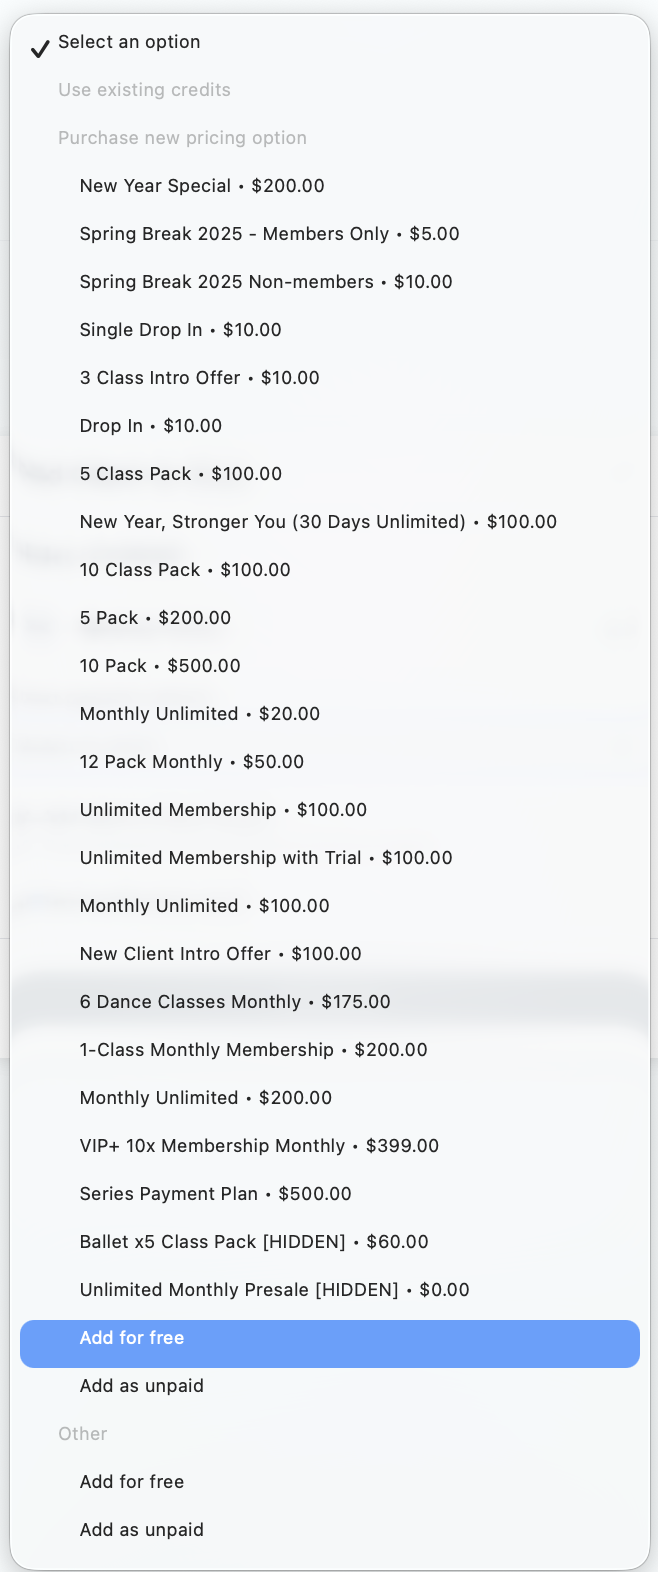
When adding a client manually, you can choose their payment method:
- Existing package or membership — uses their credits
- New purchase — opens point of sale to collect payment
- Free / unpaid — adds them without collecting payment (useful for comps or trials)
If a client's booking window has closed (the class is starting soon), you can still add them from your dashboard. Booking windows only restrict self-service client bookings.
Was this helpful?