Custom permissions
Create roles with exactly the access your team needs.
Beyond the built-in roles, you can create custom roles with granular permission settings. This lets you define exactly what each staff position can see and do.
Create a custom role
- Go to Staff → Team → Roles & Permissions
- Click Add New
- Name the role (e.g., "Accounting", "Front Desk Lead", "Junior Instructor")
- Click Add New
- Select the permissions that apply
- Click Save

Apply a custom role to a team member
- Go to Staff → Team
- Click into the team member's profile
- Click the Permissions tab
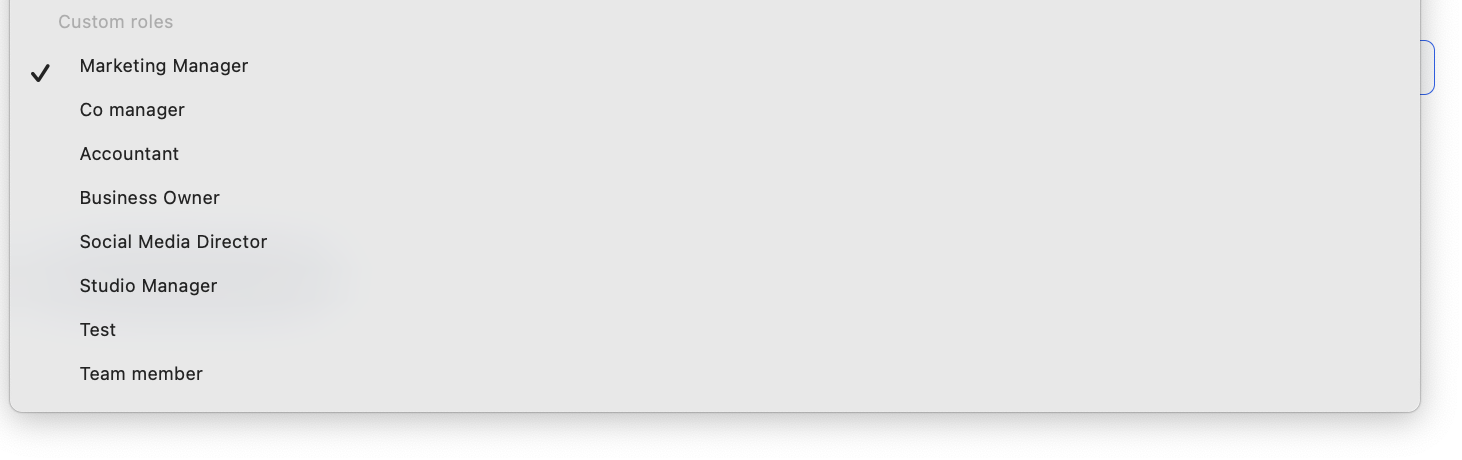
- Select the custom role from the dropdown
- Click Save Changes
The team member's access updates immediately.
Available permissions
Permissions are organized by section:
Schedule
- View, create, edit, delete classes / appointments / events
- Export class rosters as CSV
- View and create sub requests
Beyond Classes (Videos, Communities, Retail, Invoices)
- View, create, edit, delete for each content type
Clients
- View, create, edit, delete client list and profiles
- View and manage payments, notes, timeline
- View check-ins
Segments
- View, create, edit, delete segments
Marketing
- View and manage leads, forms, automations, broadcasts, referrals, tasks
Analytics
- View dashboard charts
- View, create, edit, delete reports; access all reports
Setup
- View, create, edit, delete service types and pricing options
Team
- View, create, edit, delete team members
- Edit roles and permissions
- View, download, edit, delete payroll reporting
- View time clocking
Promotions
- View, create, edit, delete promo codes and gift cards
Sales Channels
- View and edit website integration, branded website, mobile app, embeddable chat
Settings
- Business settings, client settings, scheduling settings, communication settings
- Integrations and payment settings
- Billing
Custom permissions are available on Studio plans. If you don't see the option to add custom roles, contact Arketa support to enable it.
Was this helpful?