Revenue categories
Create custom revenue categories to track and report on sales by business line.
Revenue categories let you label your pricing options, packages, and retail products with custom tags so you can slice your sales data the way your business is structured — not just by Arketa's default groupings.
Why use revenue categories?
If your business has distinct revenue lines — like "private training," "workshops," "retail," and "memberships" — custom categories let you see exactly how much each line is generating without manually filtering reports.
Create a category
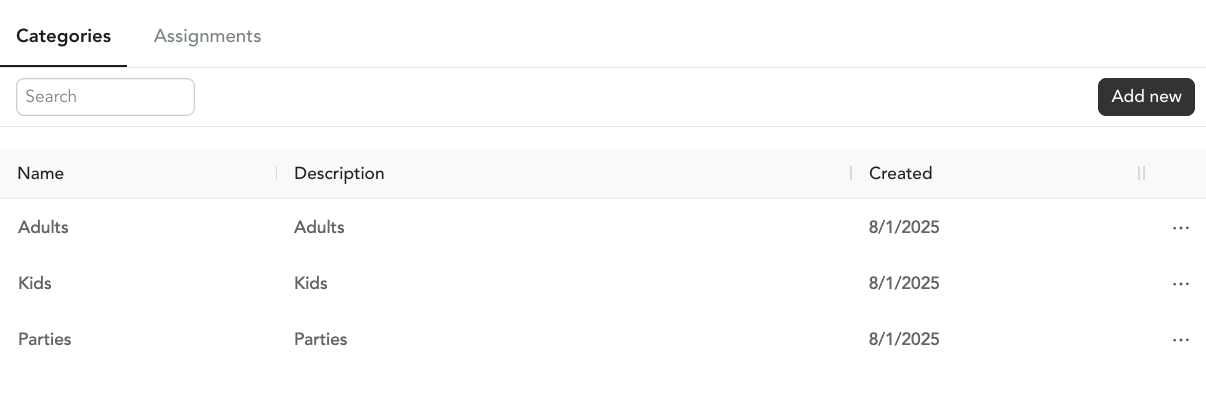
- Go to Settings → Revenue Categories → Categories
- Click Add New
- Enter a name and optional description
- Save
Assign categories
To bulk-assign:
- Go to Settings → Revenue Categories → Assignment
- On the assignment page, you'll see all your pricing options, packages, subscriptions, and retail items
- Select a revenue category for each

When creating a pricing option: You can also assign a revenue category at creation time. The category must exist in Settings first before it appears in the dropdown.
Reporting by revenue category
Go to Analytics → Reports → Revenue Category Sales to see a breakdown of sales by your custom categories. This report is especially useful for accountants and multi-revenue-stream businesses.
Set up your revenue categories before creating pricing options so you can assign them from the start. It's much easier than going back to assign in bulk.