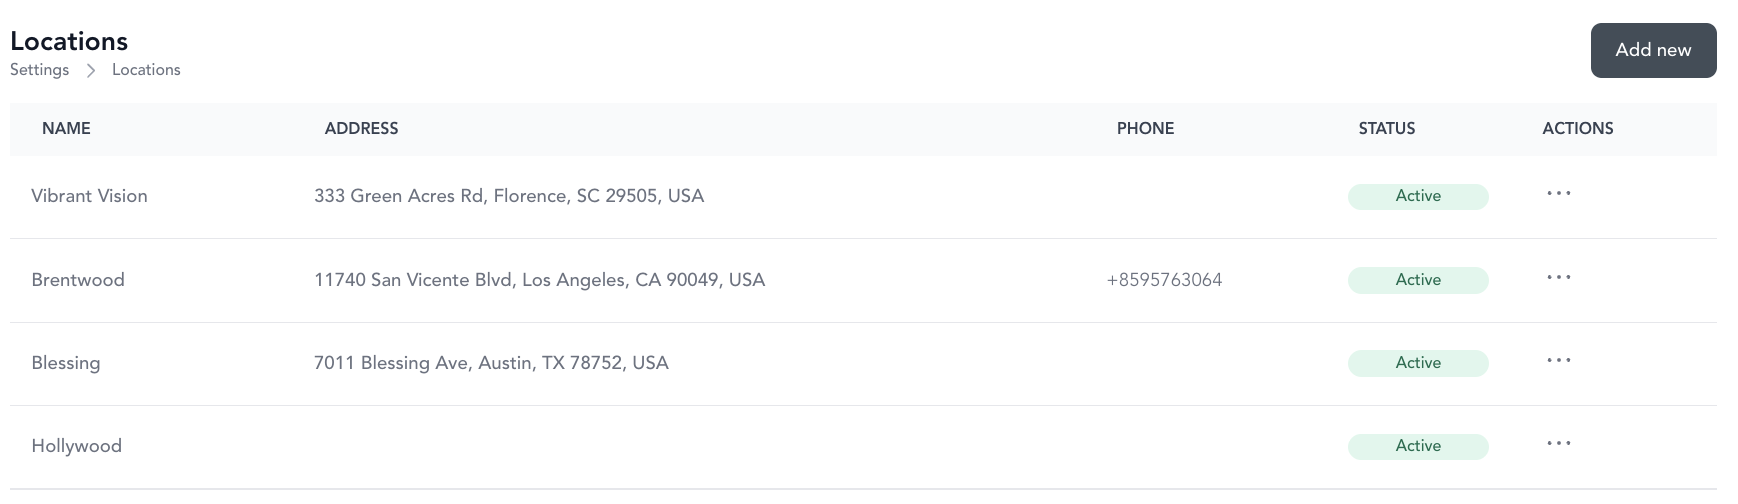
Locations
Create and manage locations, rooms, and location-specific settings.
Locations let you organize your business across multiple physical spaces. Each location can have its own address, hours, tax rate, rooms, and payment terminal.
Create a location
- Go to Settings → Locations
- Click Add New
- Enter a location name and click Create
Configure location details
Once created, open the location to fill in:
| Setting | Description |
|---|---|
| Address | Physical address — used for Reserve with Google and mapping |
| Phone number | Location-specific contact number |
| Tax rate | Applies to all goods and services sold at this location through point of sale |
| Description | Internal notes about the location |
These details are not currently displayed publicly in the widget.
Set location hours
Location hours control when appointments can be booked at this location. Configure:
- Availability timezone — The time zone for this location's schedule
- Services — Which service types are offered at this location
- Weekly hours — Default availability schedule
- Overrides — Block specific dates or adjust hours for exceptions (holidays, events, etc.)

Unassigned availability
Toggle Allow unassigned availability if you want clients to book appointments without matching an instructor's availability. Useful when a front desk staff member handles scheduling after the fact.
Rooms
Rooms let you manage specific spaces within a location — useful for multi-room studios or when you want to prevent double-booking a physical space.
To add a room:
- Open the location
- Go to the Rooms tab
- Click Add New Room
- Name the room and select which services can be booked in it
- Click Save Details
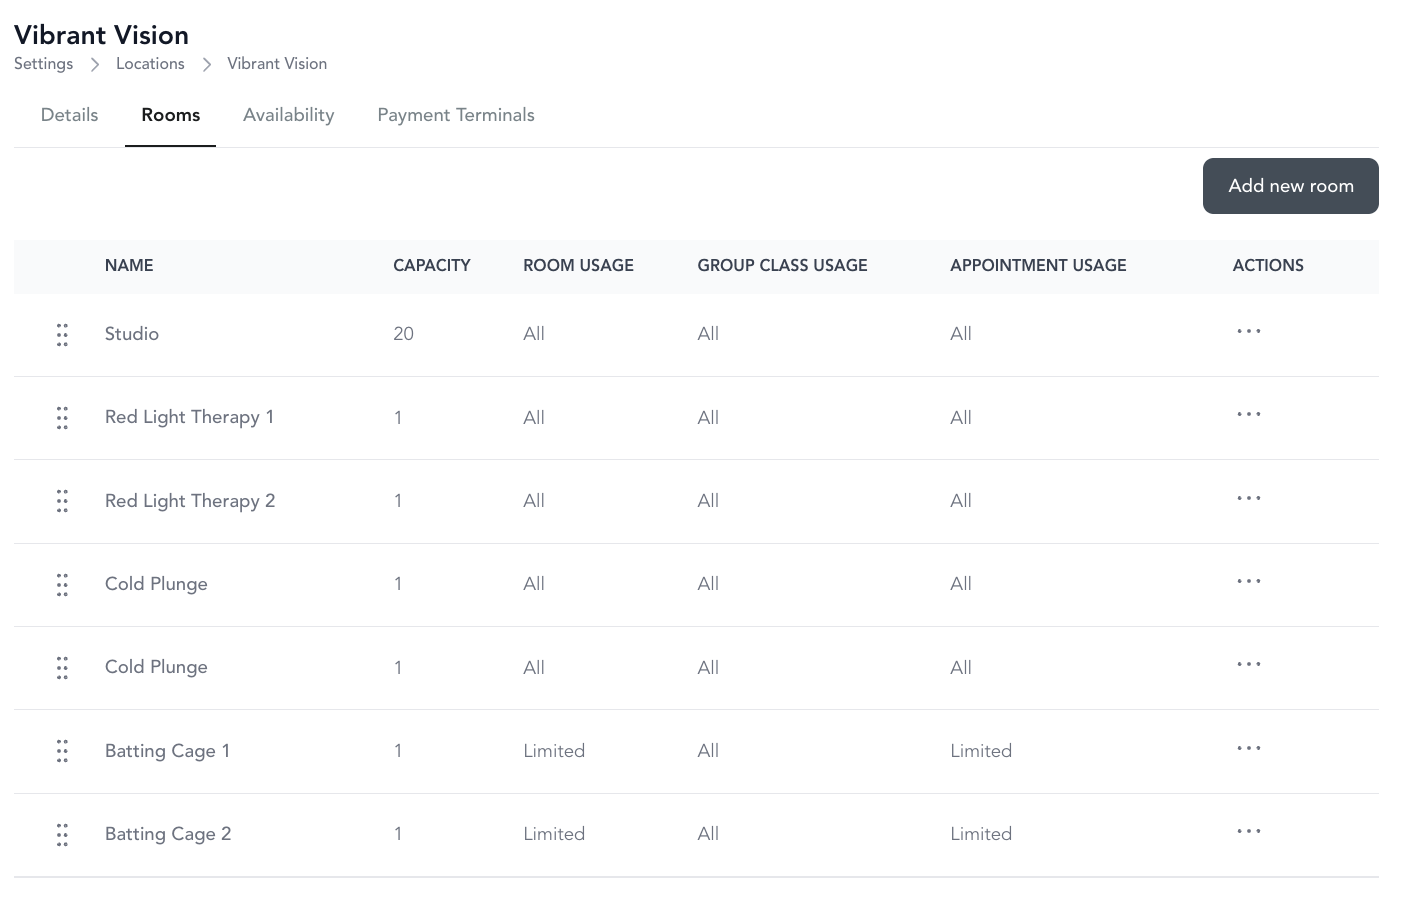
To reorder rooms, drag and drop them — they appear in the widget from top to bottom, left to right.
Payment terminals
Each location can have its own card reader. See payment terminals for setup instructions.
Multiple locations
If you run multiple studios, each location gets its own settings, rooms, and availability. Classes and appointments can be assigned to specific locations so clients always know where to go.