Buy pages
Build curated, category-organized pricing pages to feature specific offerings on your website and branded app.
A buy page is a dedicated, organized page that showcases a selected set of pricing options grouped into named categories. It's a cleaner alternative to your full pricing list — use it to feature a curated set of offerings, embed those options on your own website, or set it as the default page clients see in your branded app.
Create the pricing options you want to feature before building a buy page. You add existing options to the page, so they need to exist first. See pricing overview to set them up.
Create a buy page
Open the buy page setup
Go to Setup → Pricing Option → Buy Page.
Add a new page
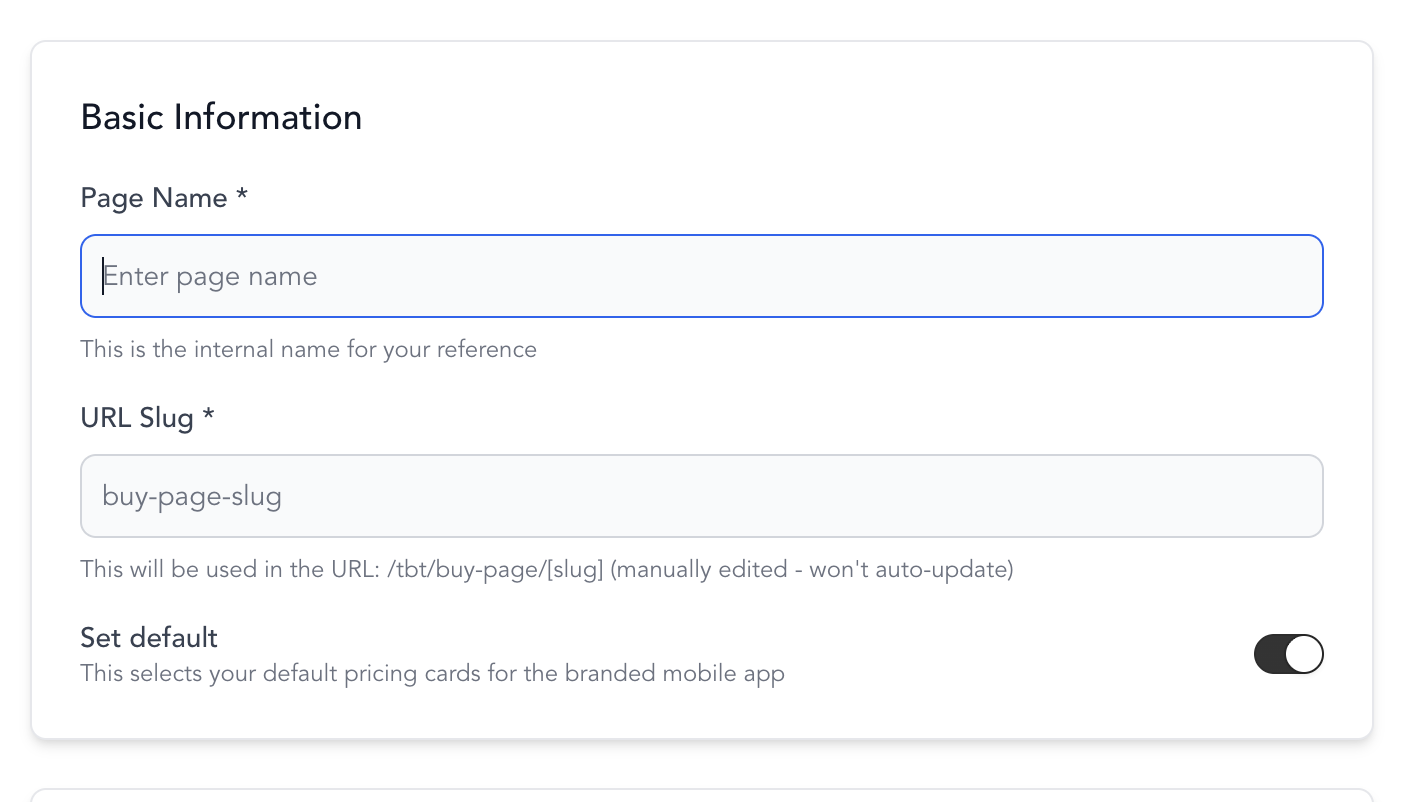
Click Add new, fill in the page details, and click Create Buy Page. A new section opens where you'll build out the page.
Add a category
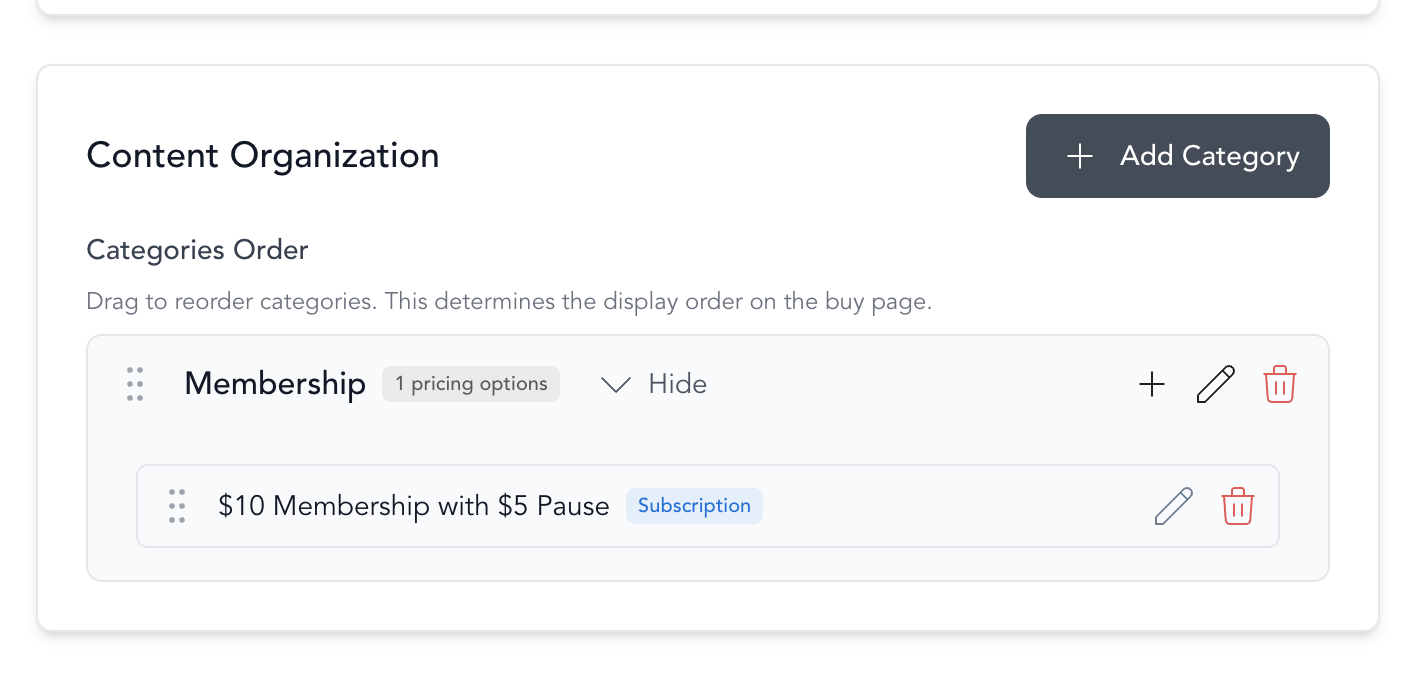
Add a category and name it. The category name is the heading clients see on the page, so use labels that make sense to them — like "Memberships," "Class Packs," or "Intro Offers."
Add pricing options to the category
Click the + next to the category to add the pricing options that should appear under it.
Build out the rest of the page
Repeat for each category. Drag and drop to reorder categories and the options within them, and customize titles and descriptions as needed.
Save
Click Update Buy Page to save your changes.
Share your buy page
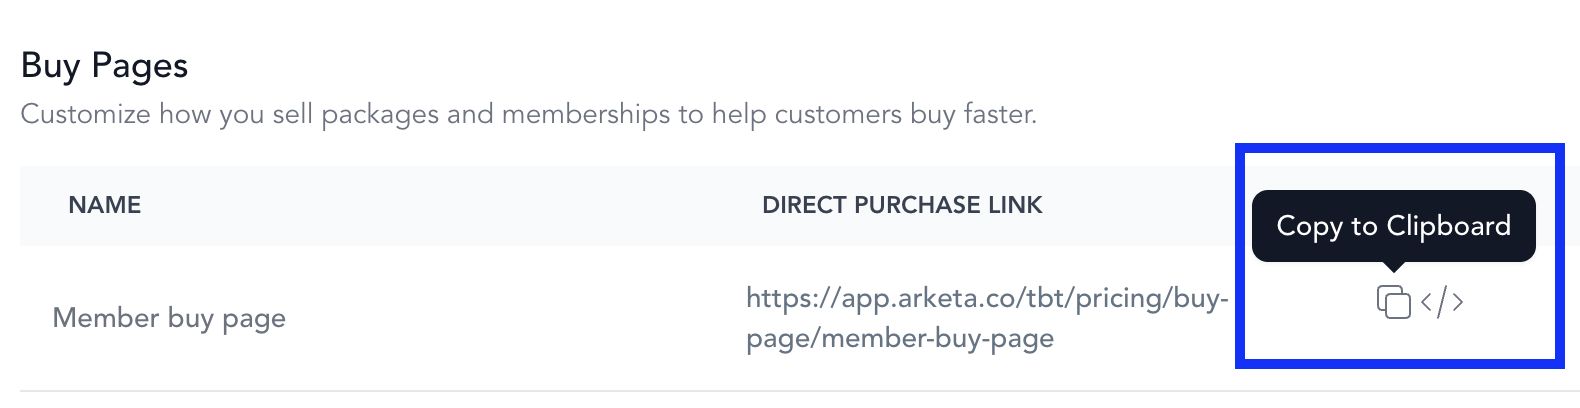
Every buy page has its own links so clients can view and purchase the featured options directly.
Direct link
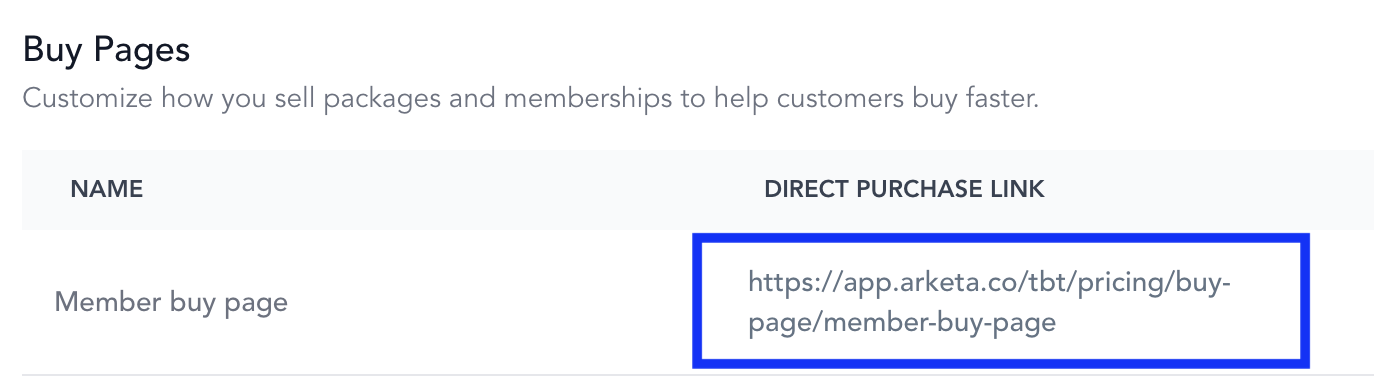
Copy the buy page's direct purchase and booking link and share it by email, text, or social post. Clients open a clean page with only the options you featured.
Website embed
Copy the embed code and add it to your own website so the buy page displays right on your site.
Show a buy page in your branded app
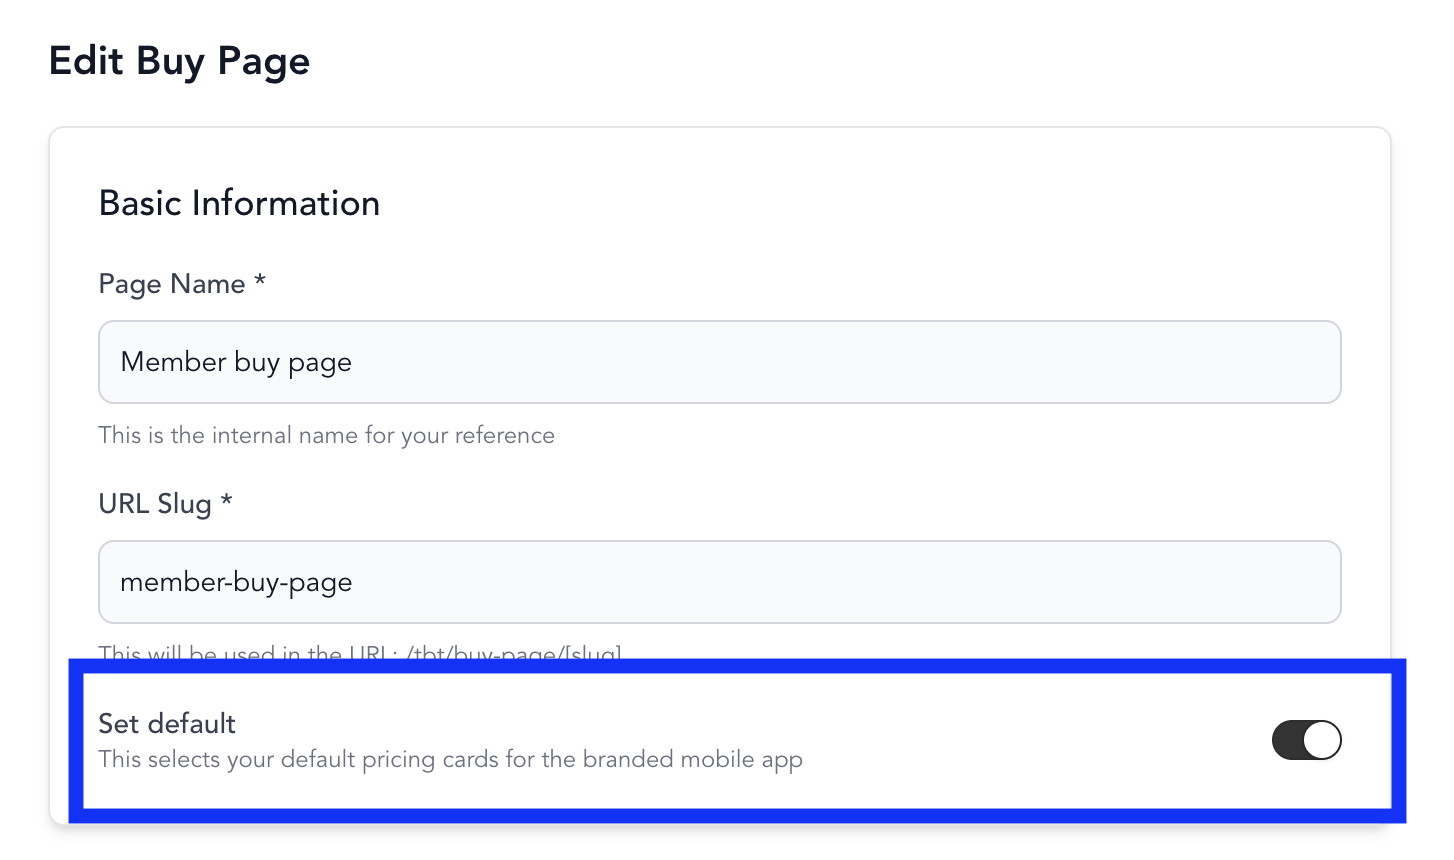
You can set one buy page as the default that displays in your branded app. To enable it, toggle on the mobile app option in the buy page settings. Clients then see that curated page instead of your full pricing list when they browse pricing in the app.