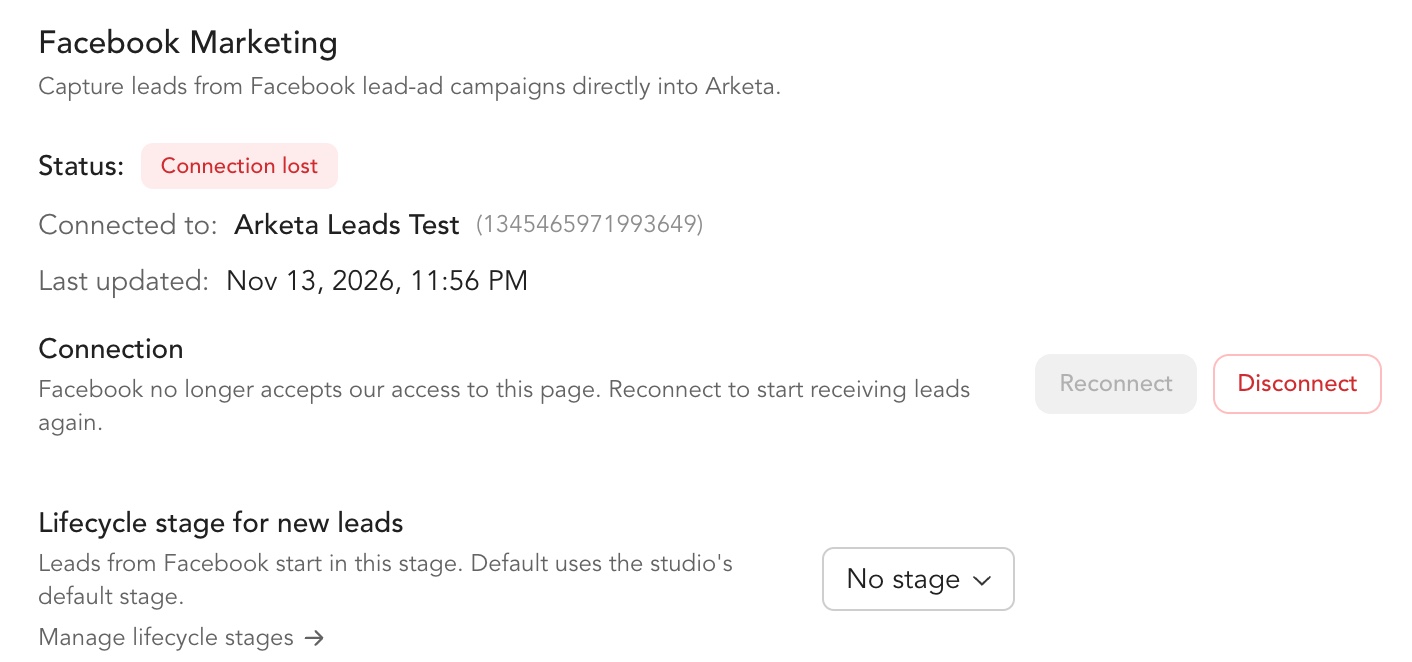
Meta ads
Connect the Meta Pixel and the Conversions API (CAPI) so Facebook and Instagram ads optimize on real bookings and revenue, and bring Meta Lead Ads submissions into Arketa as new leads.
When you run Facebook or Instagram ads, Meta needs reliable conversion data to find buyers — not just clickers. Arketa connects Meta Pixel (browser) and the Conversions API (CAPI) (server) together so your campaigns see bookings, purchases, trials, and subscriptions even when the browser Pixel is blocked.
Set up both. Pixel alone misses a meaningful share of events. CAPI is what makes your reporting and optimization trustworthy.
Why CAPI is worth setting up
The Meta Pixel runs in your client's browser. That worked well for years — but today a lot of conversion signals never reach Meta:
- Ad blockers and privacy extensions stop
fbqfrom firing - iOS and browser privacy limit what client-side tracking can see
- Paid subscriptions often convert on a server invoice after checkout, when the browser session is already gone
Conversions API (CAPI) sends the same conversion events from Arketa's servers directly to Meta. You get a second, independent path for every important action on your booking page.
What you gain
- More complete data — recover conversions the browser Pixel never recorded
- Smarter ad delivery — Meta's algorithm optimizes on real revenue, not incomplete signals
- Accurate ROI — see which ads drive bookings and memberships, not just landing-page visits
- Automatic deduplication — Arketa sends matching event IDs from browser and server; Meta counts each conversion once
- Reliable subscription tracking — Subscribe fires when the first invoice is actually paid, server-side, so failed cards don't inflate your numbers
CAPI is not a replacement for Pixel — it's the pairing Meta recommends. Arketa handles both and keeps them in sync.
What you'll need
- A Meta Business Manager account
- A Meta Pixel (create one in Events Manager if you don't have one yet)
- A Conversions API access token for that Pixel
- Your website domain verified in Meta Business Manager
Set up Meta tracking in Arketa
Copy your Pixel ID
- Go to business.facebook.com and log in
- Open Business Settings (gear icon, top right)
- Go to Data Sources → Pixels
- Select your Pixel (or click Add to create one) and copy the Pixel ID
You can also find the Pixel ID in Meta Events Manager under your dataset's Settings.
Generate your Conversions API token
CAPI requires a server access token tied to your Pixel — this is separate from your Pixel ID.
- In Meta Events Manager, open your Pixel / dataset
- Go to Settings
- Scroll to Conversions API
- Click Generate access token (or Set up manually → generate token)
- Copy the token and store it somewhere secure — Meta may only show the full value once
Use the token from Conversions API in Events Manager, not a preview or test token from elsewhere.
Verify your domain (recommended)
Domain verification helps Meta attribute events to your site and improves delivery quality.
- In Business Settings, go to Brand Safety → Domains
- Add your domain if it is not listed and follow Meta's verification steps
- Open the domain and copy the Meta Tag Verification code from Domain Details
Connect in Arketa
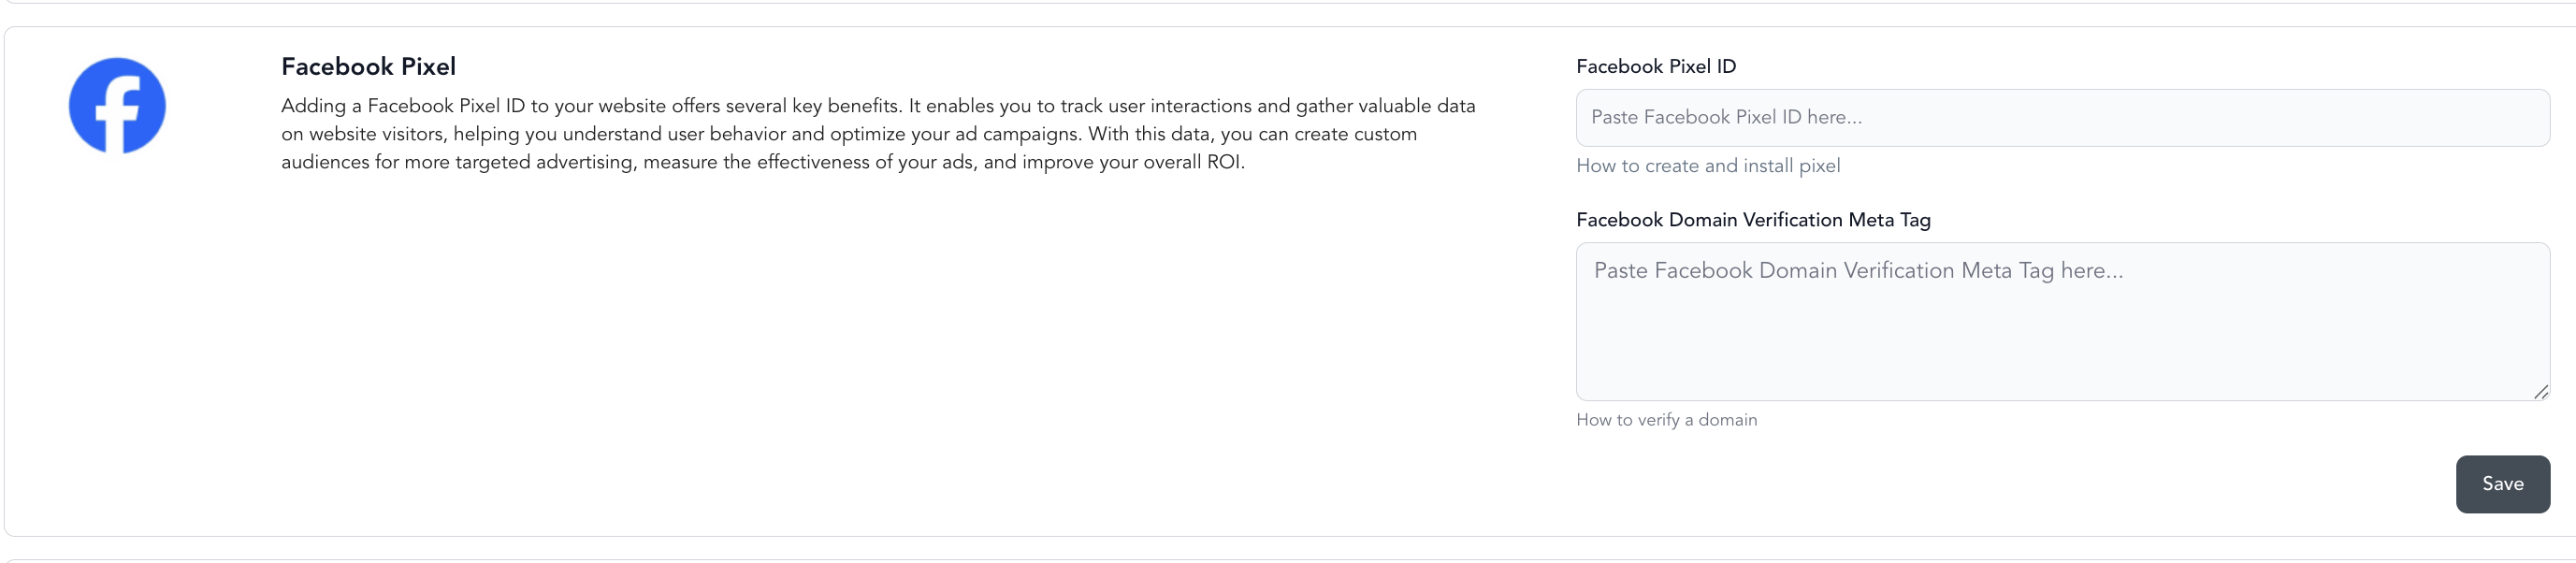
- Go to Settings → Integrations → Meta
- Enter:
- Meta Pixel ID
- Conversions API access token
- Domain Verification Meta Tag (if you use domain verification)
- Save
Once your Pixel ID and CAPI token are saved, server-side tracking is on. Optional: enable Track subscription renewals (LTV) if you want a custom SubscriptionRenewed event sent on each renewal (see FAQ below).
Confirm events in Meta
- In Events Manager, open Test Events
- Complete a test booking or purchase on your client-facing booking page
- You should see the event with Browser and Server sources and a Deduplicated badge
If you only see one source, check that the Pixel ID and CAPI token are saved in Arketa and try again without an ad blocker.
What Arketa sends to Meta
Arketa fires standard Meta events from your booking page (browser Pixel + CAPI):
| Event | When it fires |
|---|---|
| Schedule | Client books a class |
| Purchase | Client buys a pricing option, on-demand video, or pack |
| StartTrial | Client starts a subscription on a free trial |
| Subscribe | First paid invoice succeeds for a subscription |
| SubscriptionRenewed (custom) | Each renewal invoice, if Track subscription renewals (LTV) is enabled |
StartTrial is for subscriptions with a free trial only. A free (zero-price) pack or pricing option, such as a free intro class, is not a trial and sends no Purchase event either, because no money changed hands. When the client books a class with it, that booking is sent as Schedule.
That data powers:
- Ad optimization — Meta finds more people like your actual buyers
- Retargeting — build audiences from people who visited but did not convert
- Revenue reporting — tie ad spend to bookings and memberships, not just clicks
CAPI and Pixel run on your client-facing booking page only. Purchases your staff take in the dashboard or at the front desk are not sent to Meta — those conversions are not from ad clicks, so they are excluded from campaign reporting by design.
Meta Lead Ads
Bring your Facebook and Instagram lead ad submissions straight into Arketa. Every time someone fills out one of your Instant Forms, Arketa creates a client with their name, email and phone, marks the source as Facebook, and runs the automations you already have for new leads. No Zapier and no spreadsheets.
Lead Ads works with Meta's own forms (Instant Forms) inside your ads. If your ads already use them, you don't need to change anything. Pixel and CAPI, above, send your booking activity to Meta. Lead Ads brings form submissions into Arketa. You can use either one or both.
What you'll need
- Full control of the Facebook page your ads run from. Partial access isn't enough to connect it
- At least one Instant Form on that page. You don't need a running ad to connect or to test it
- An email question on the form. Arketa adds each lead as a client by their email, so a lead without one isn't added
Connect your page
Open the Meta integration
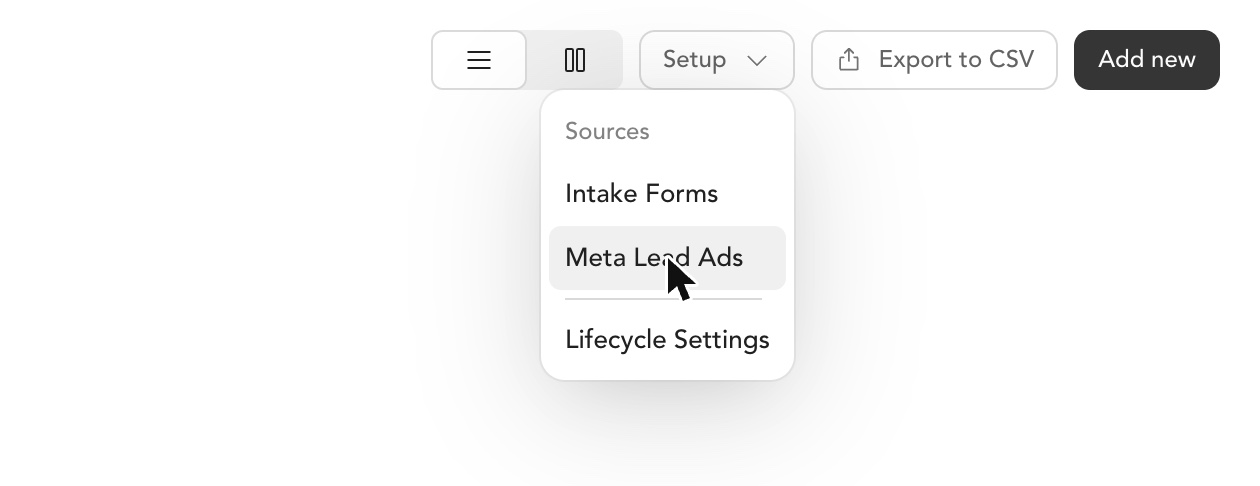
Go to Settings → Integrations → Meta and click Connect next to Meta Lead Ads. You can also get there from Marketing → Lead Management → Setup → Meta Lead Ads.
Log in with Facebook and pick your page
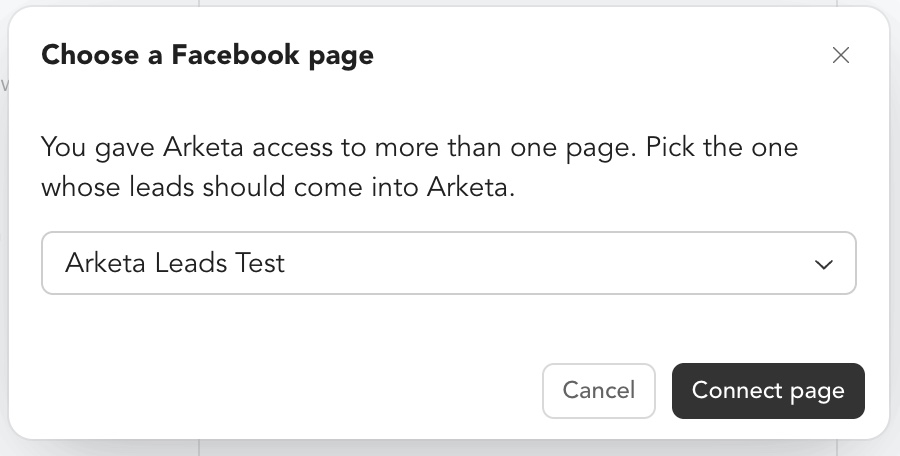
A Facebook window opens. Log in and choose the page your lead ads run from. If you manage more than one page, Arketa asks which one to connect.
Choose a lifecycle stage
Pick the stage new leads from Meta start in. Until you pick one, they start on your studio's default stage, or on your first stage if you don't have a default, so every lead lands on a stage. Leads placed on a stage also trigger your Client transitioned to lifecycle stage automations.
If your studio has no lifecycle stages yet, the card shows a red banner instead. Leads still come in, without a stage, until you add one in Lifecycle Settings.
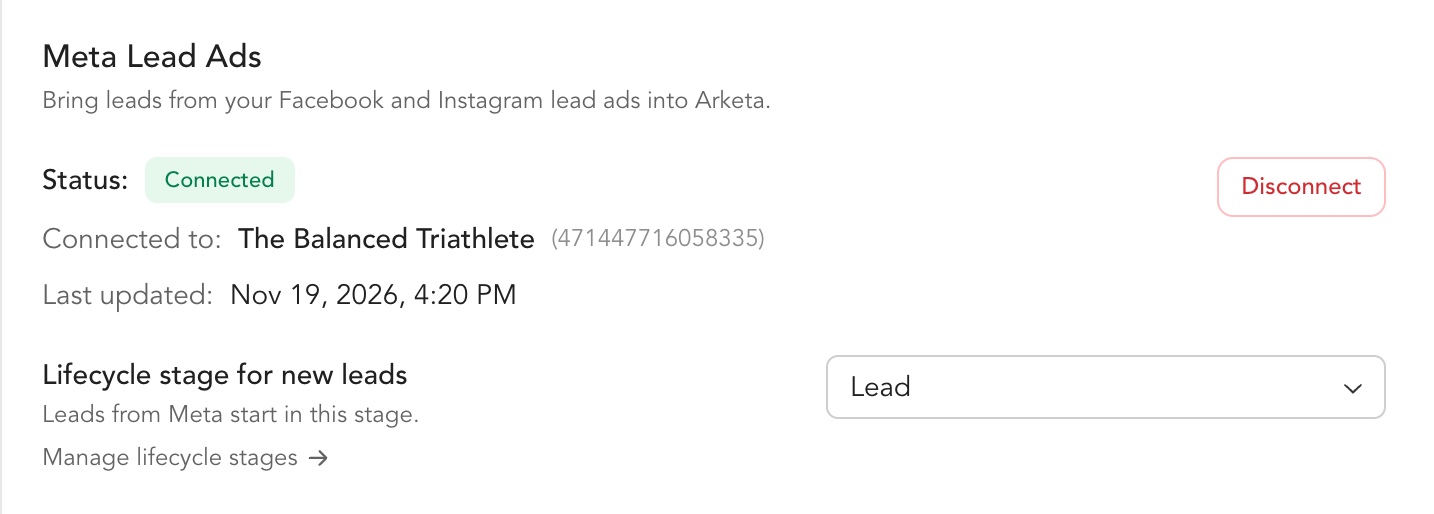
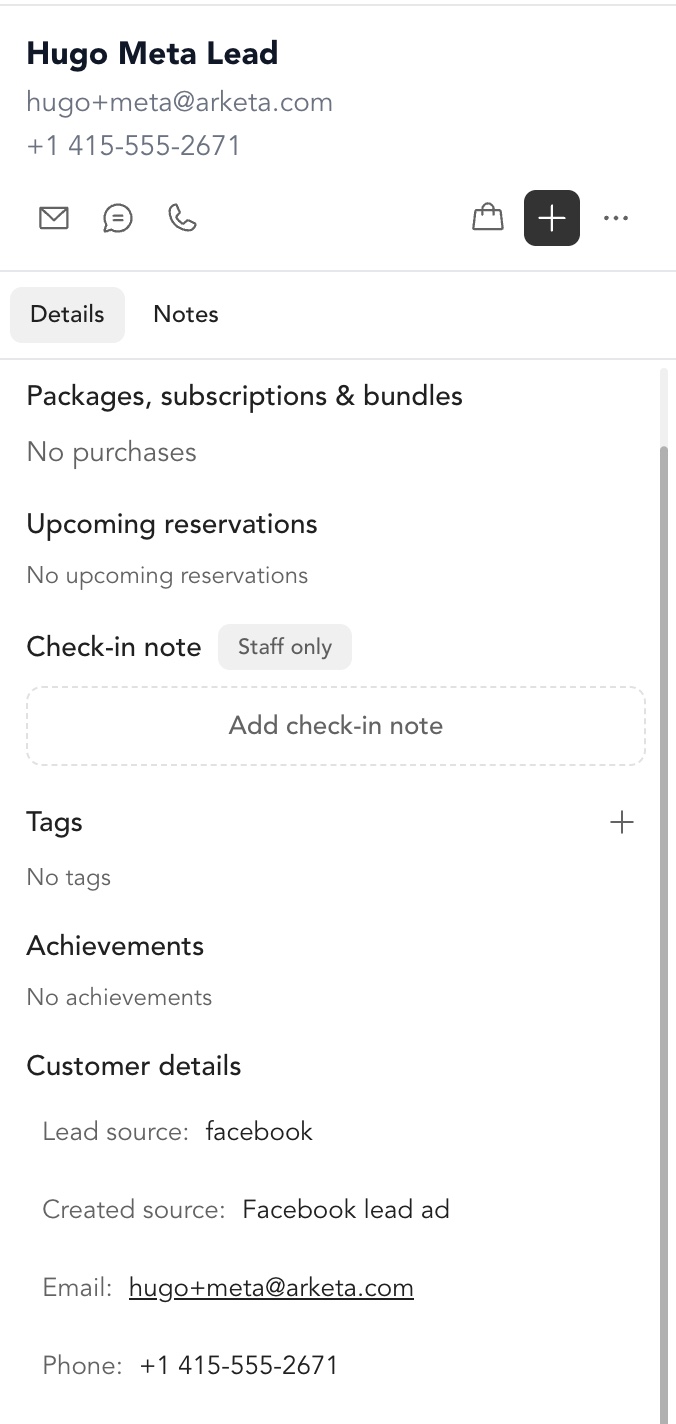
Once the card says Connected, every new Instant Form submission shows up in Marketing → Lead Management within seconds, with Facebook as the lead source.

Each lead's profile shows where it came from, along with the name, email and phone from the form.
New leads also show up for a week in the New leads tab of the Notification Center on your Home page, so you can see them come in without opening Lead Management.
Check Leads Access
Meta lets a business choose which apps receive the leads from its pages. This setting is called Lead Access Manager, and it lives in Meta Business Suite under Settings → Integrations → Leads Access.
- If it's off (the default), every app connected to your page receives its leads. You don't need to do anything.
- If it's on, Meta only sends leads to the apps on its list. Select your page, click Assign CRMs and add Arketa Marketing Suite. Until you do, the card in Arketa says Connected but no leads arrive.
Only someone with full control of your business in Meta can change this. Arketa Marketing Suite appears in the list once your page is connected in Arketa.
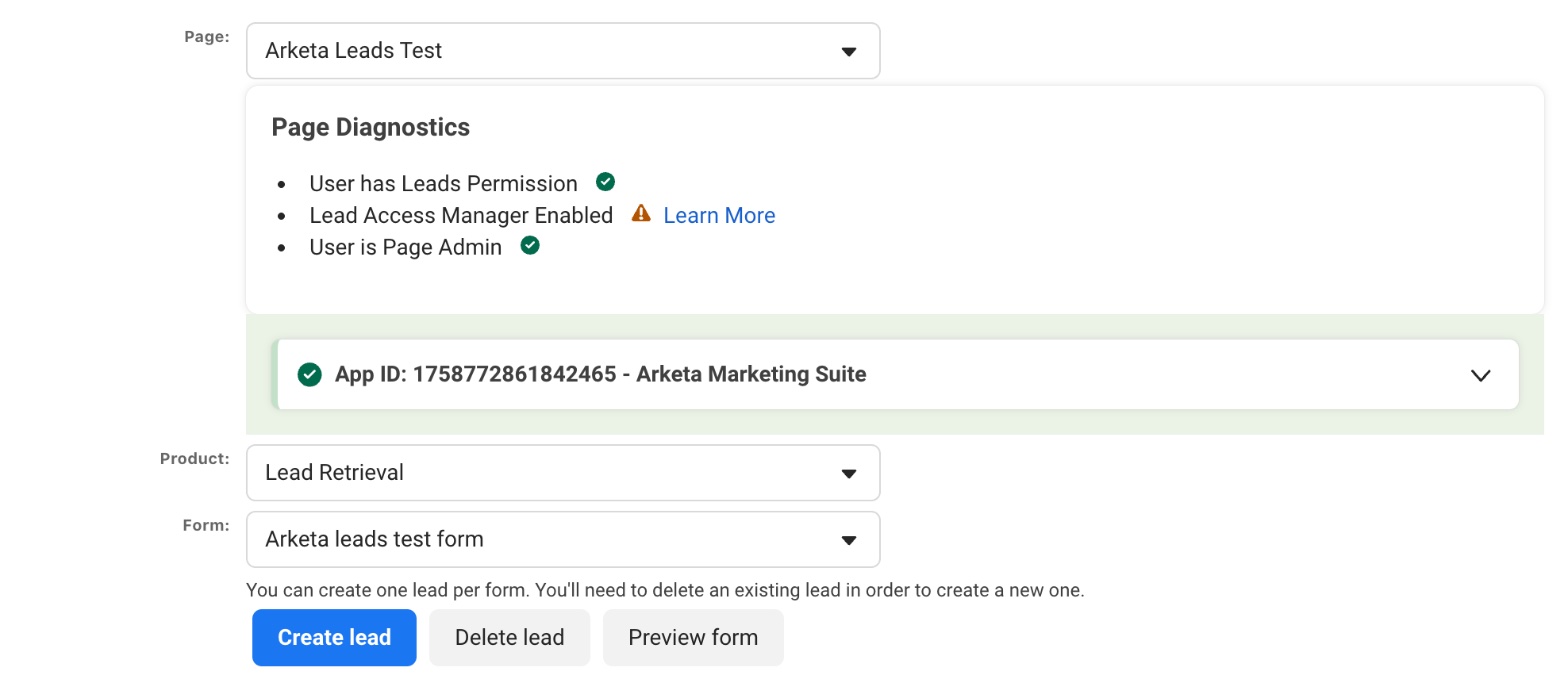
Not sure if it's on? Open the Lead Ads Testing Tool and choose your page. If Page Diagnostics shows a warning on Arketa Marketing Suite that says App does not have leads permission, add it in Leads Access.
Follow up with an automation
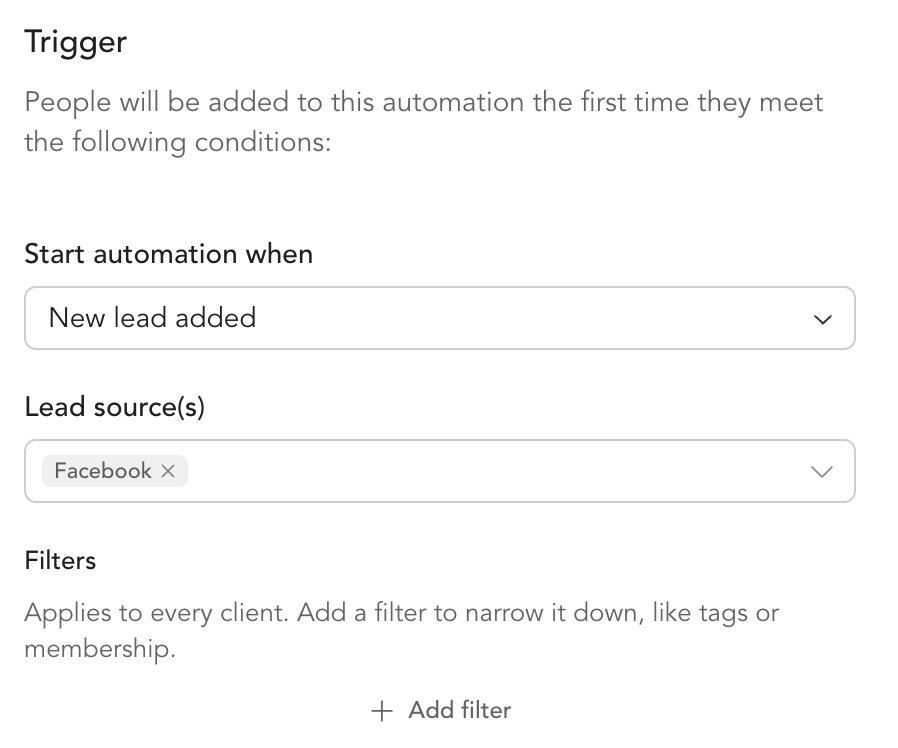
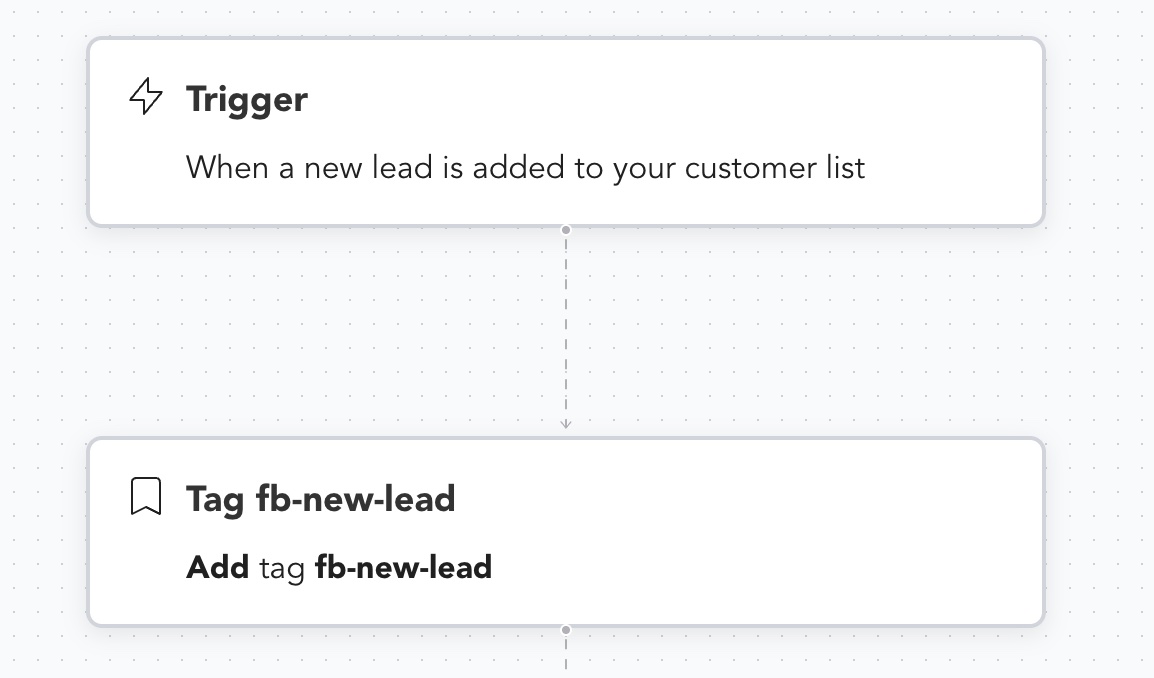
To follow up with every lead from Meta automatically, go to Marketing → Automations, create an automation and pick New lead added as the trigger with Lead source Facebook. Then add what should happen next, like a welcome email, a text, a tag or a task for your front desk.
Test it
- Open Meta's Lead Ads Testing Tool
- Choose your page and your form
- Click Preview form to fill in the form yourself, for example with your own email to see your automations reach you. Or click Create lead to send one with Meta's sample data (like
test@meta.com), which won't reach a real person - The test lead shows up in Arketa with source Facebook
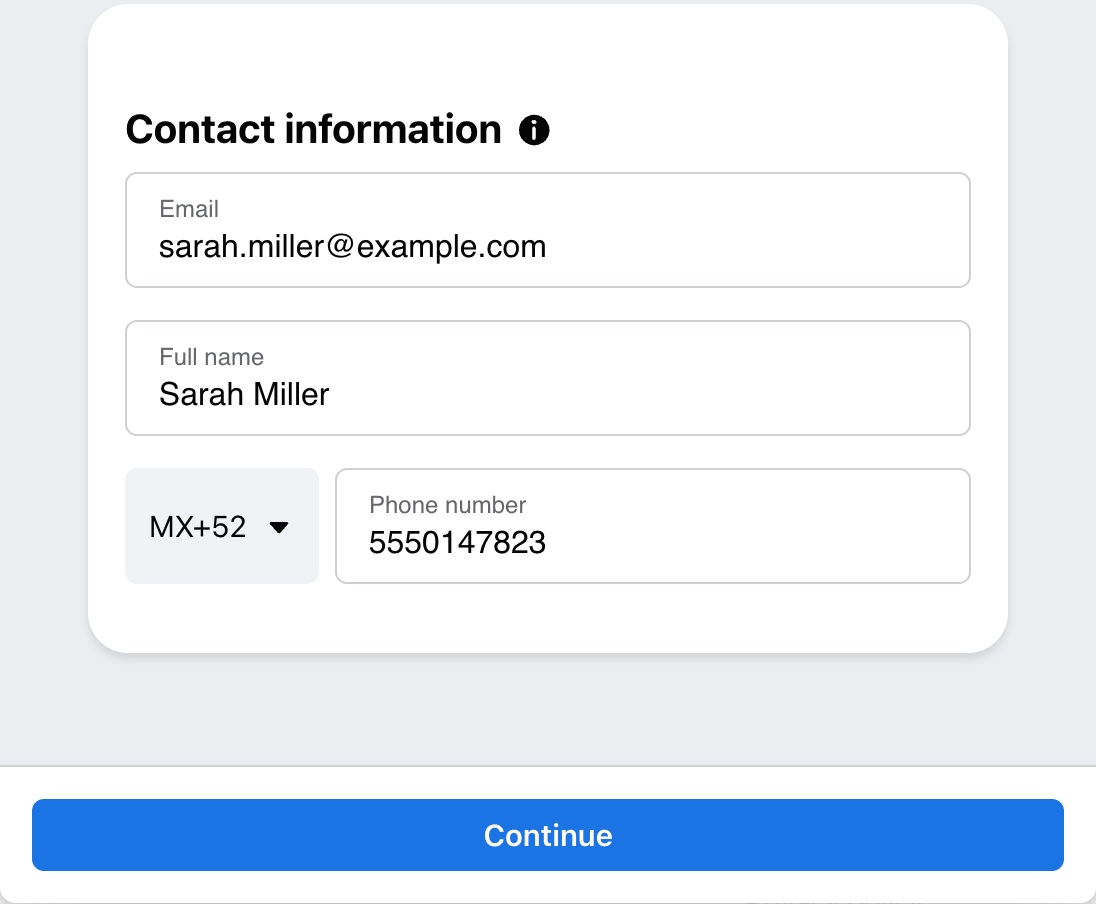
Use an email that isn't already one of your clients, or Arketa updates that client instead of adding a new lead. Each form takes one test lead at a time, so click Delete lead in the tool before sending another. If Preview form opens on Thanks, you're all set, the form already has a test lead: click Delete lead, reload the tool and open it again.
If it stops working
If Meta removes our access to your page, the card shows Connection lost. Click Reconnect and log in with Facebook again.